How To Record The Drum Kit
Over the years I've found recording the drum kit to be one of the most rewarding jobs in the studio. It's a significant challenge to get right and offers many opportunities to practice mic techniques in both stereo and mono configurations. In this blog, I'm going to show you how I tackle it.
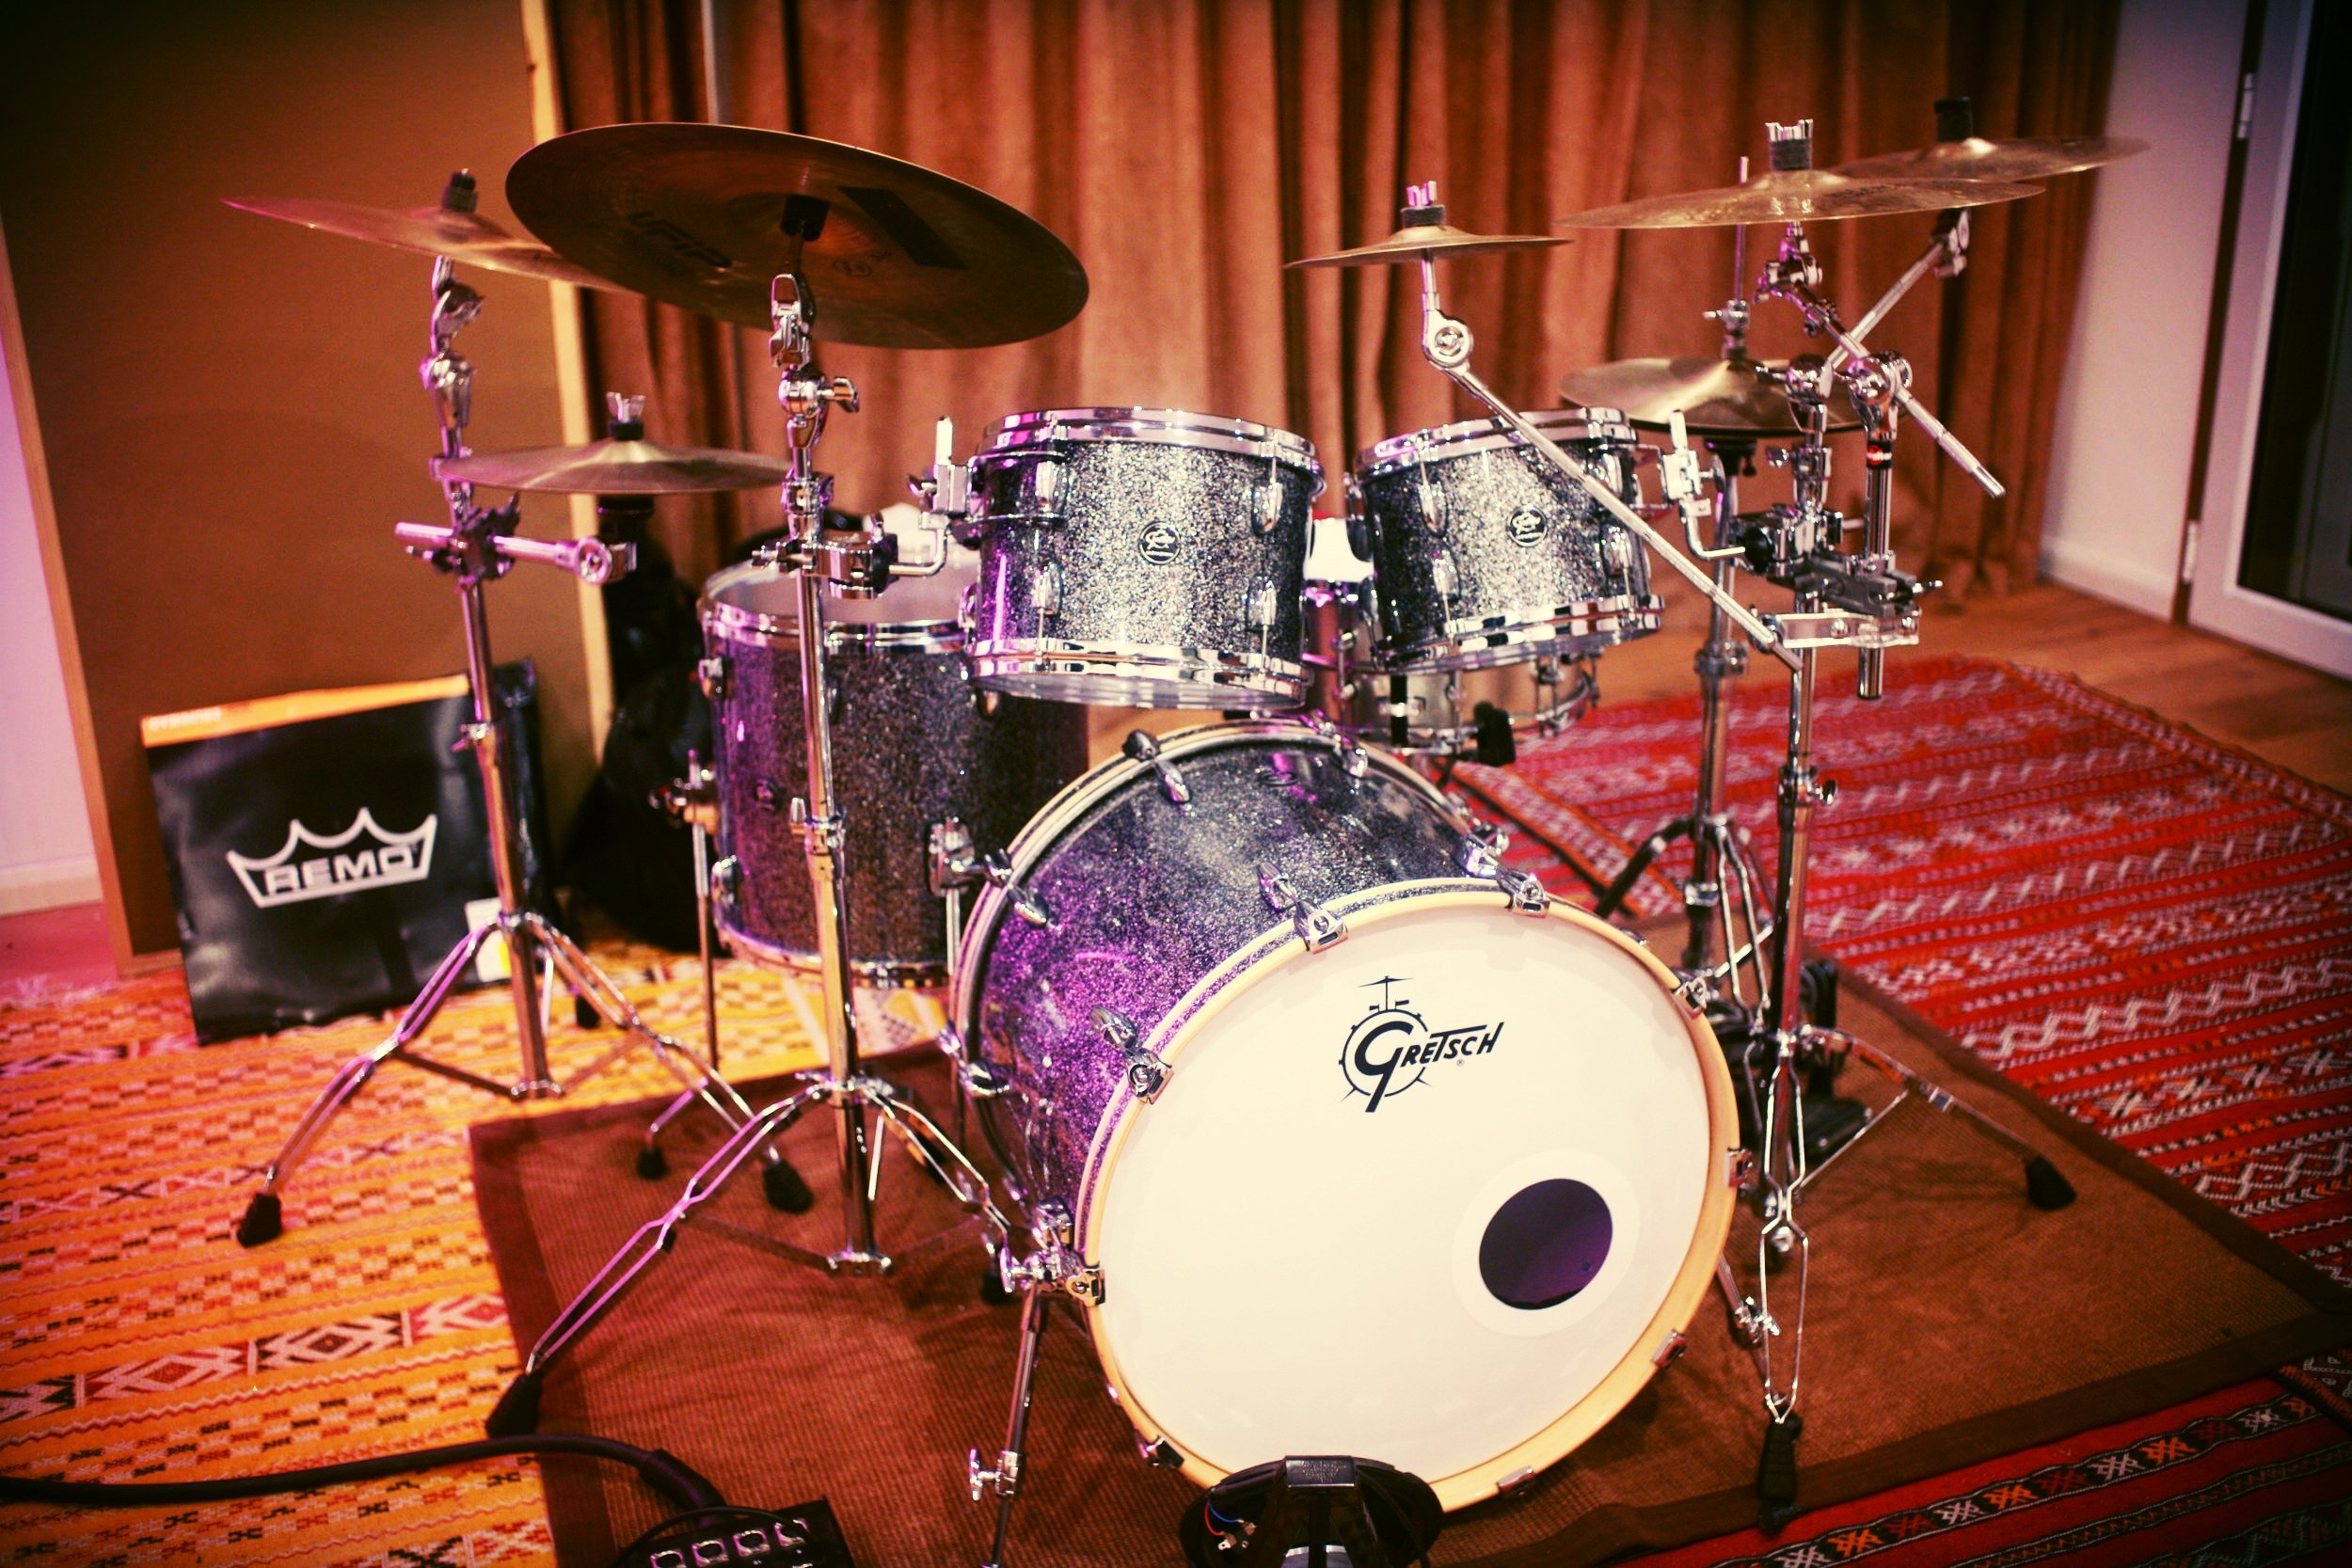
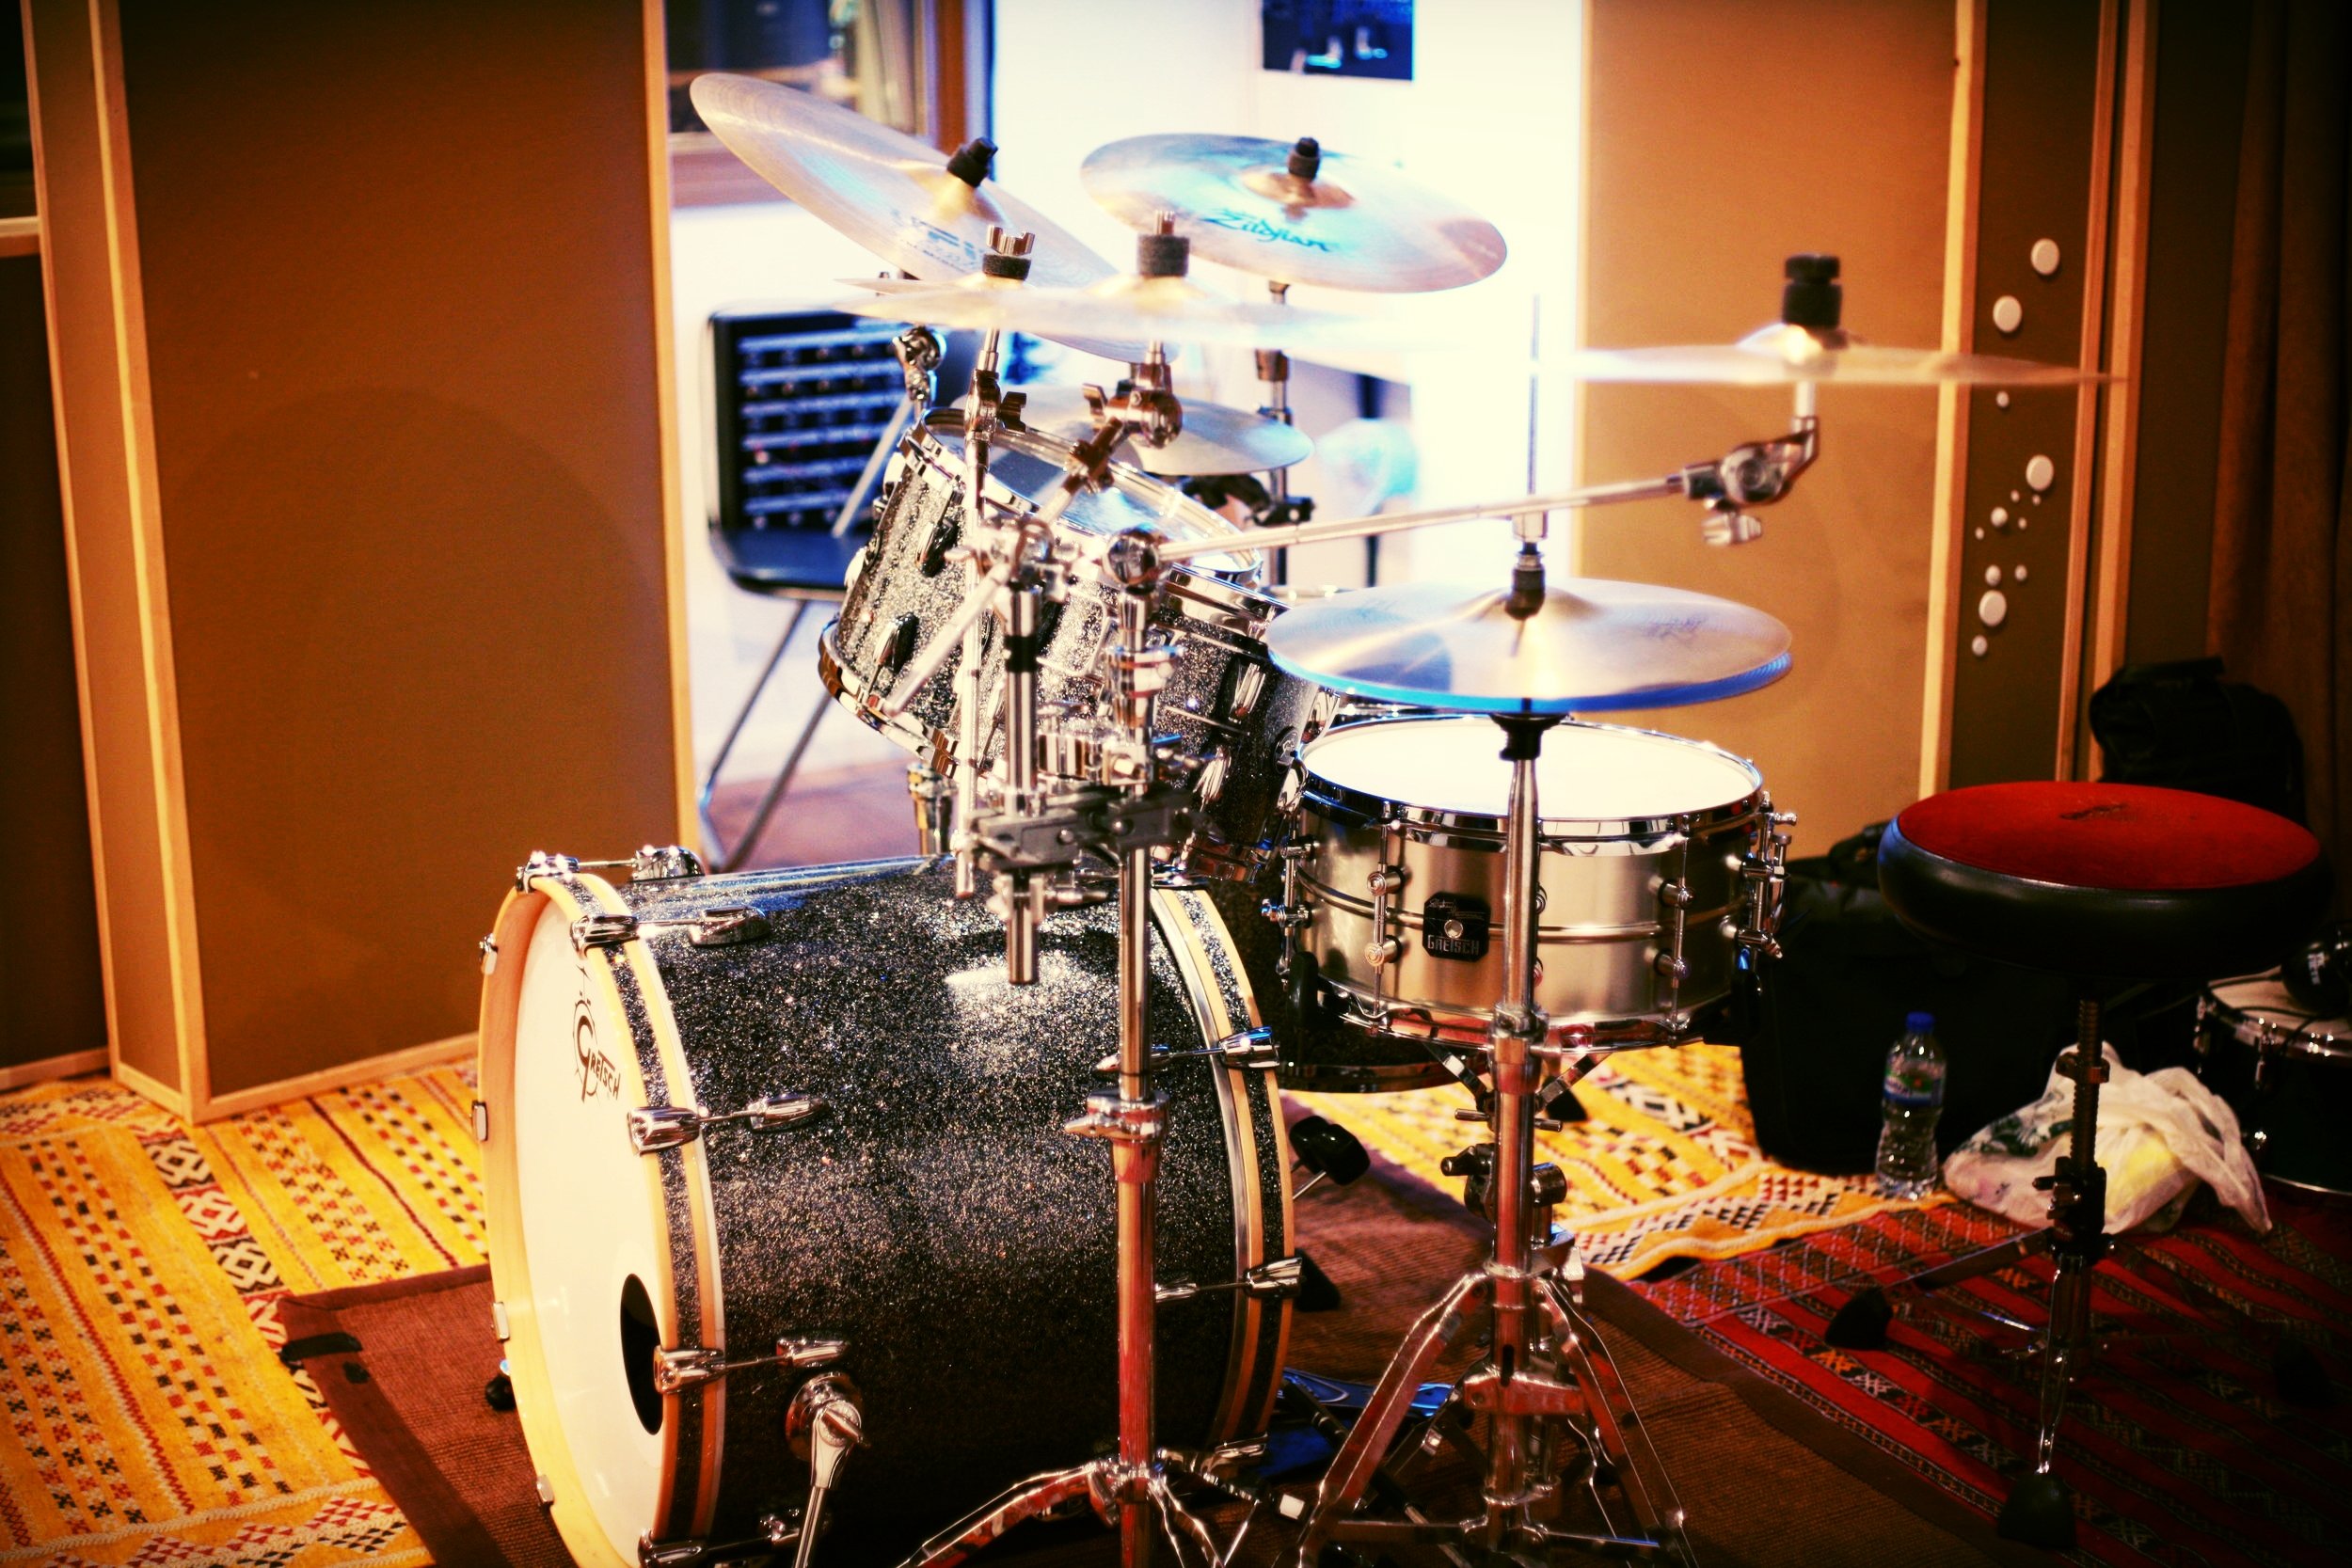
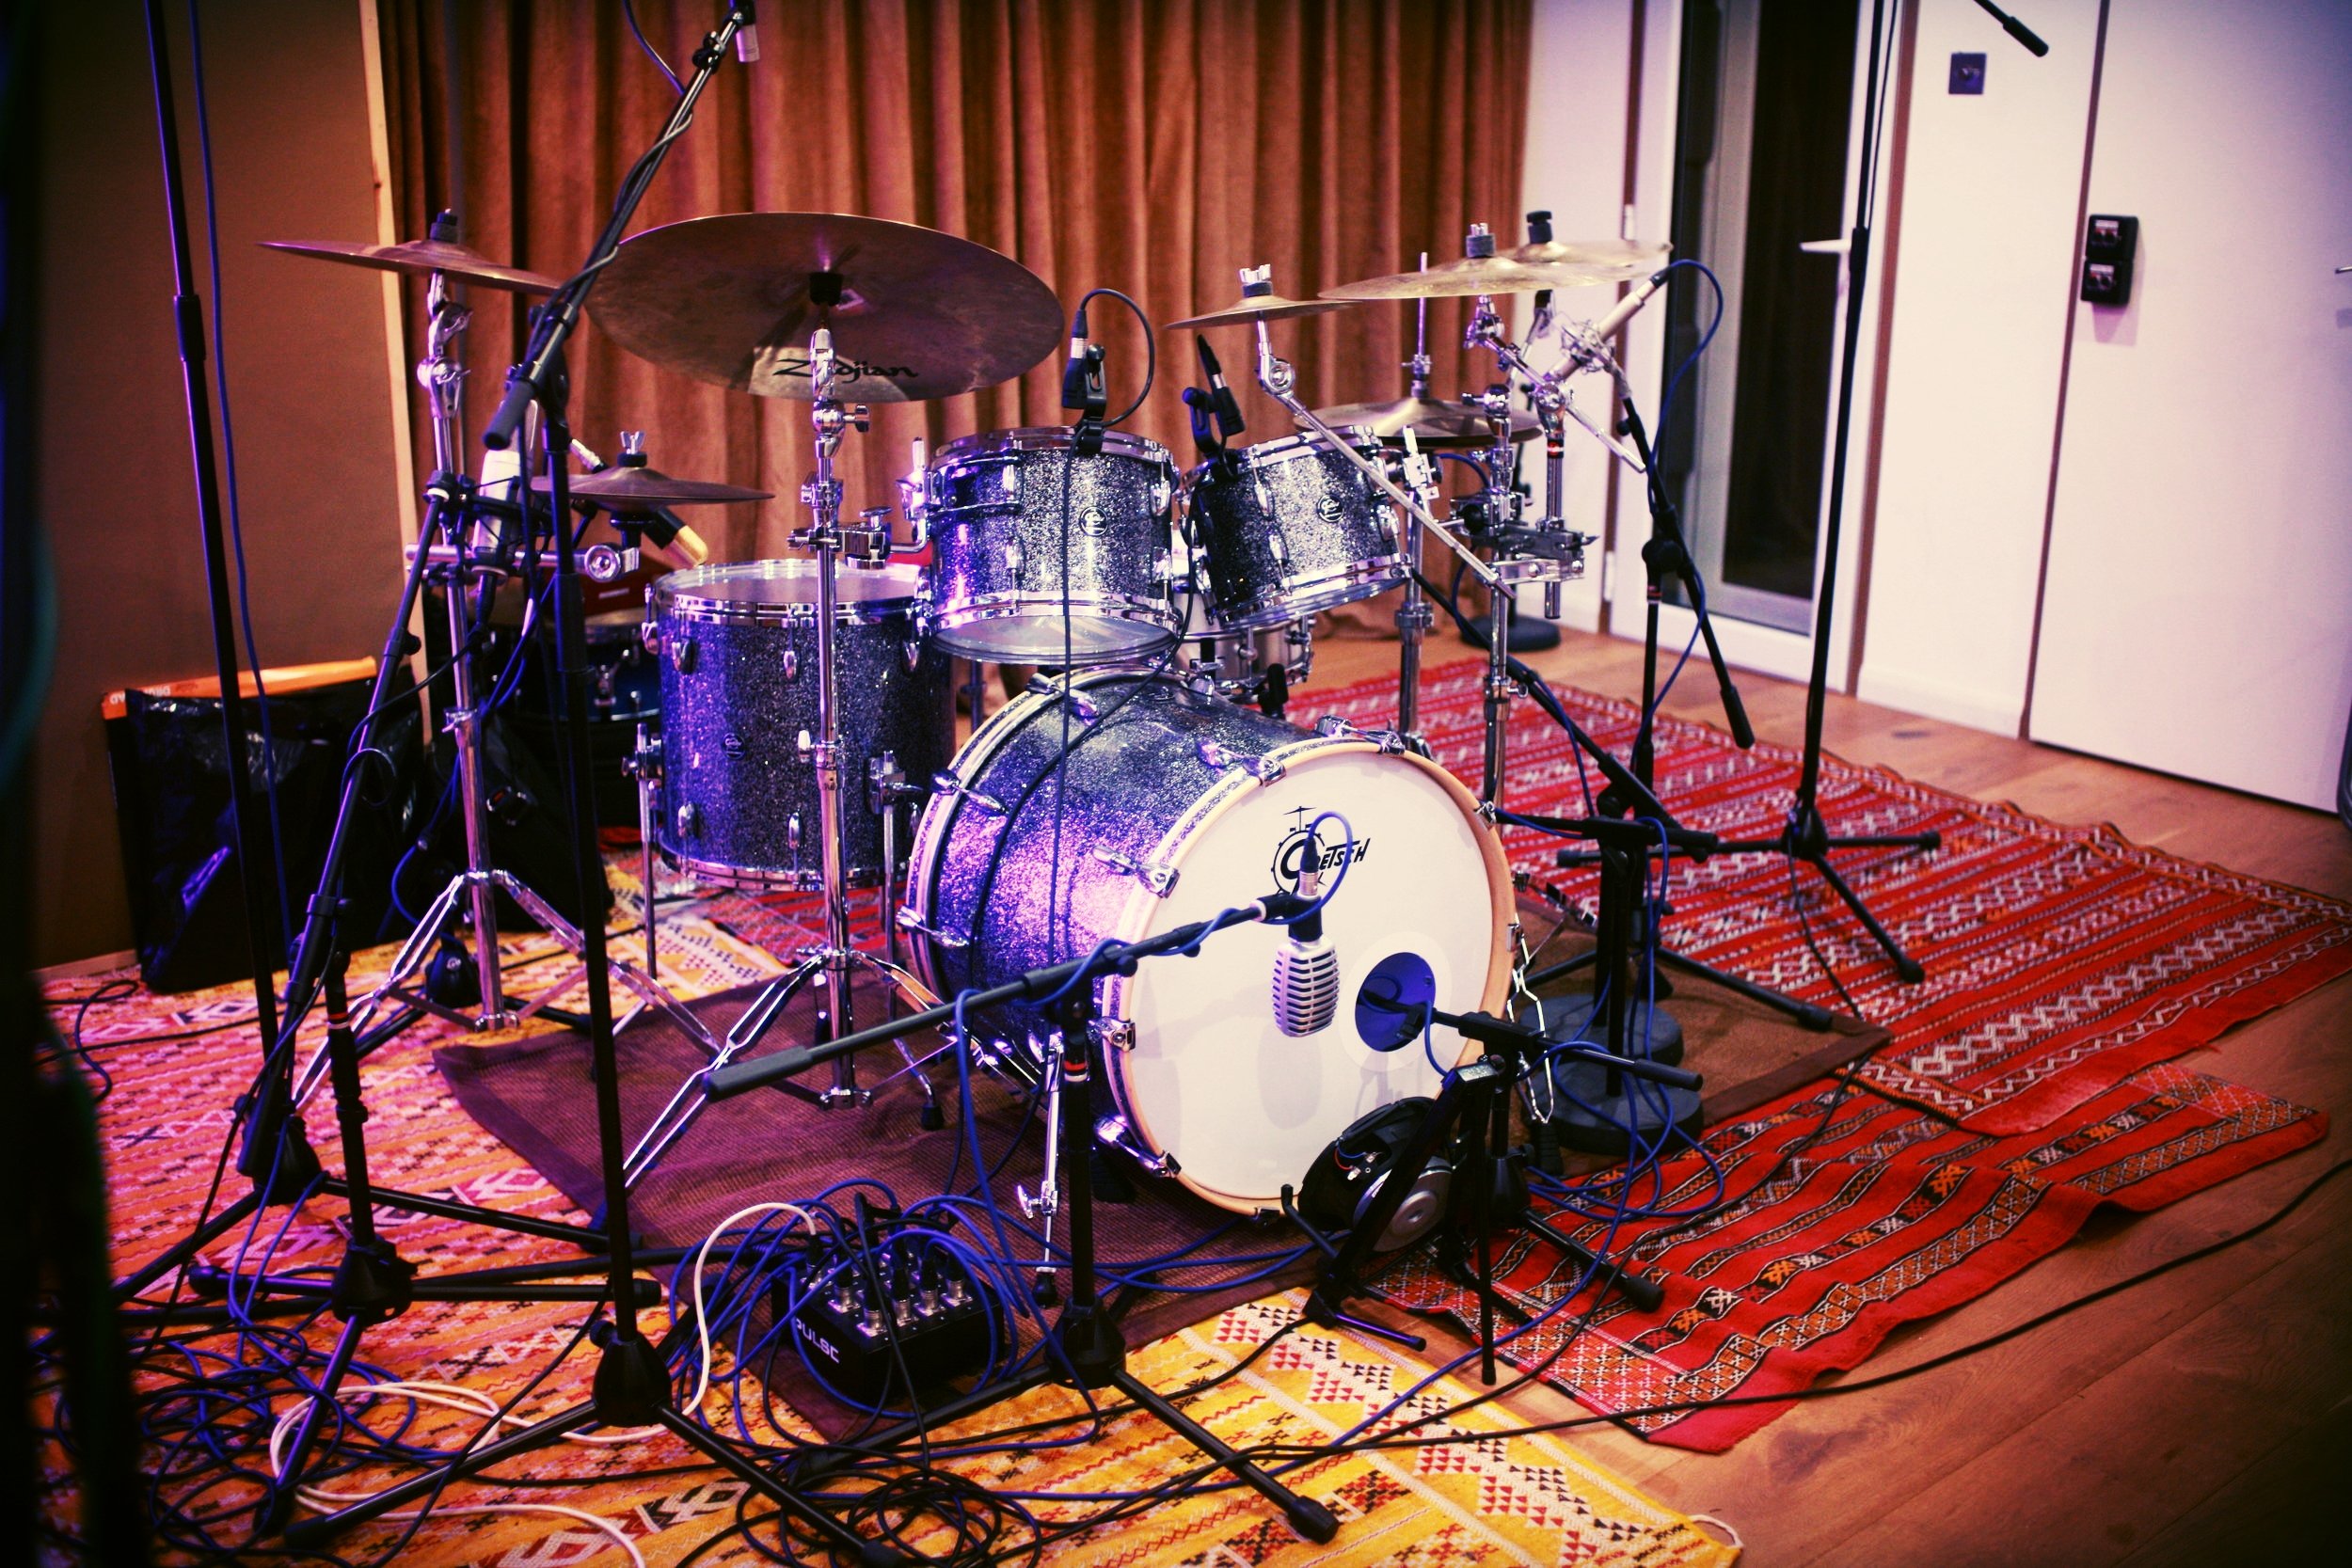
Recording The Drum Kit
The drum kit is in fact a collection of individual instruments and should be treated as a small ensemble of unique elements. As with any ensemble, there are many variations in the layout of the individual instruments and every drummer will have their own idiosyncrasies that need approaching with care and attention.
Before going any further let’s take a look at the core elements of the drum kit.
The instruments of the drum kit can be divided into two categories:
Membranophones - Instruments that employ a resonating membrane such as the skin of a tom tom
Idiophones - Instruments constructed from a sonorous material such as metal, like a cymbal
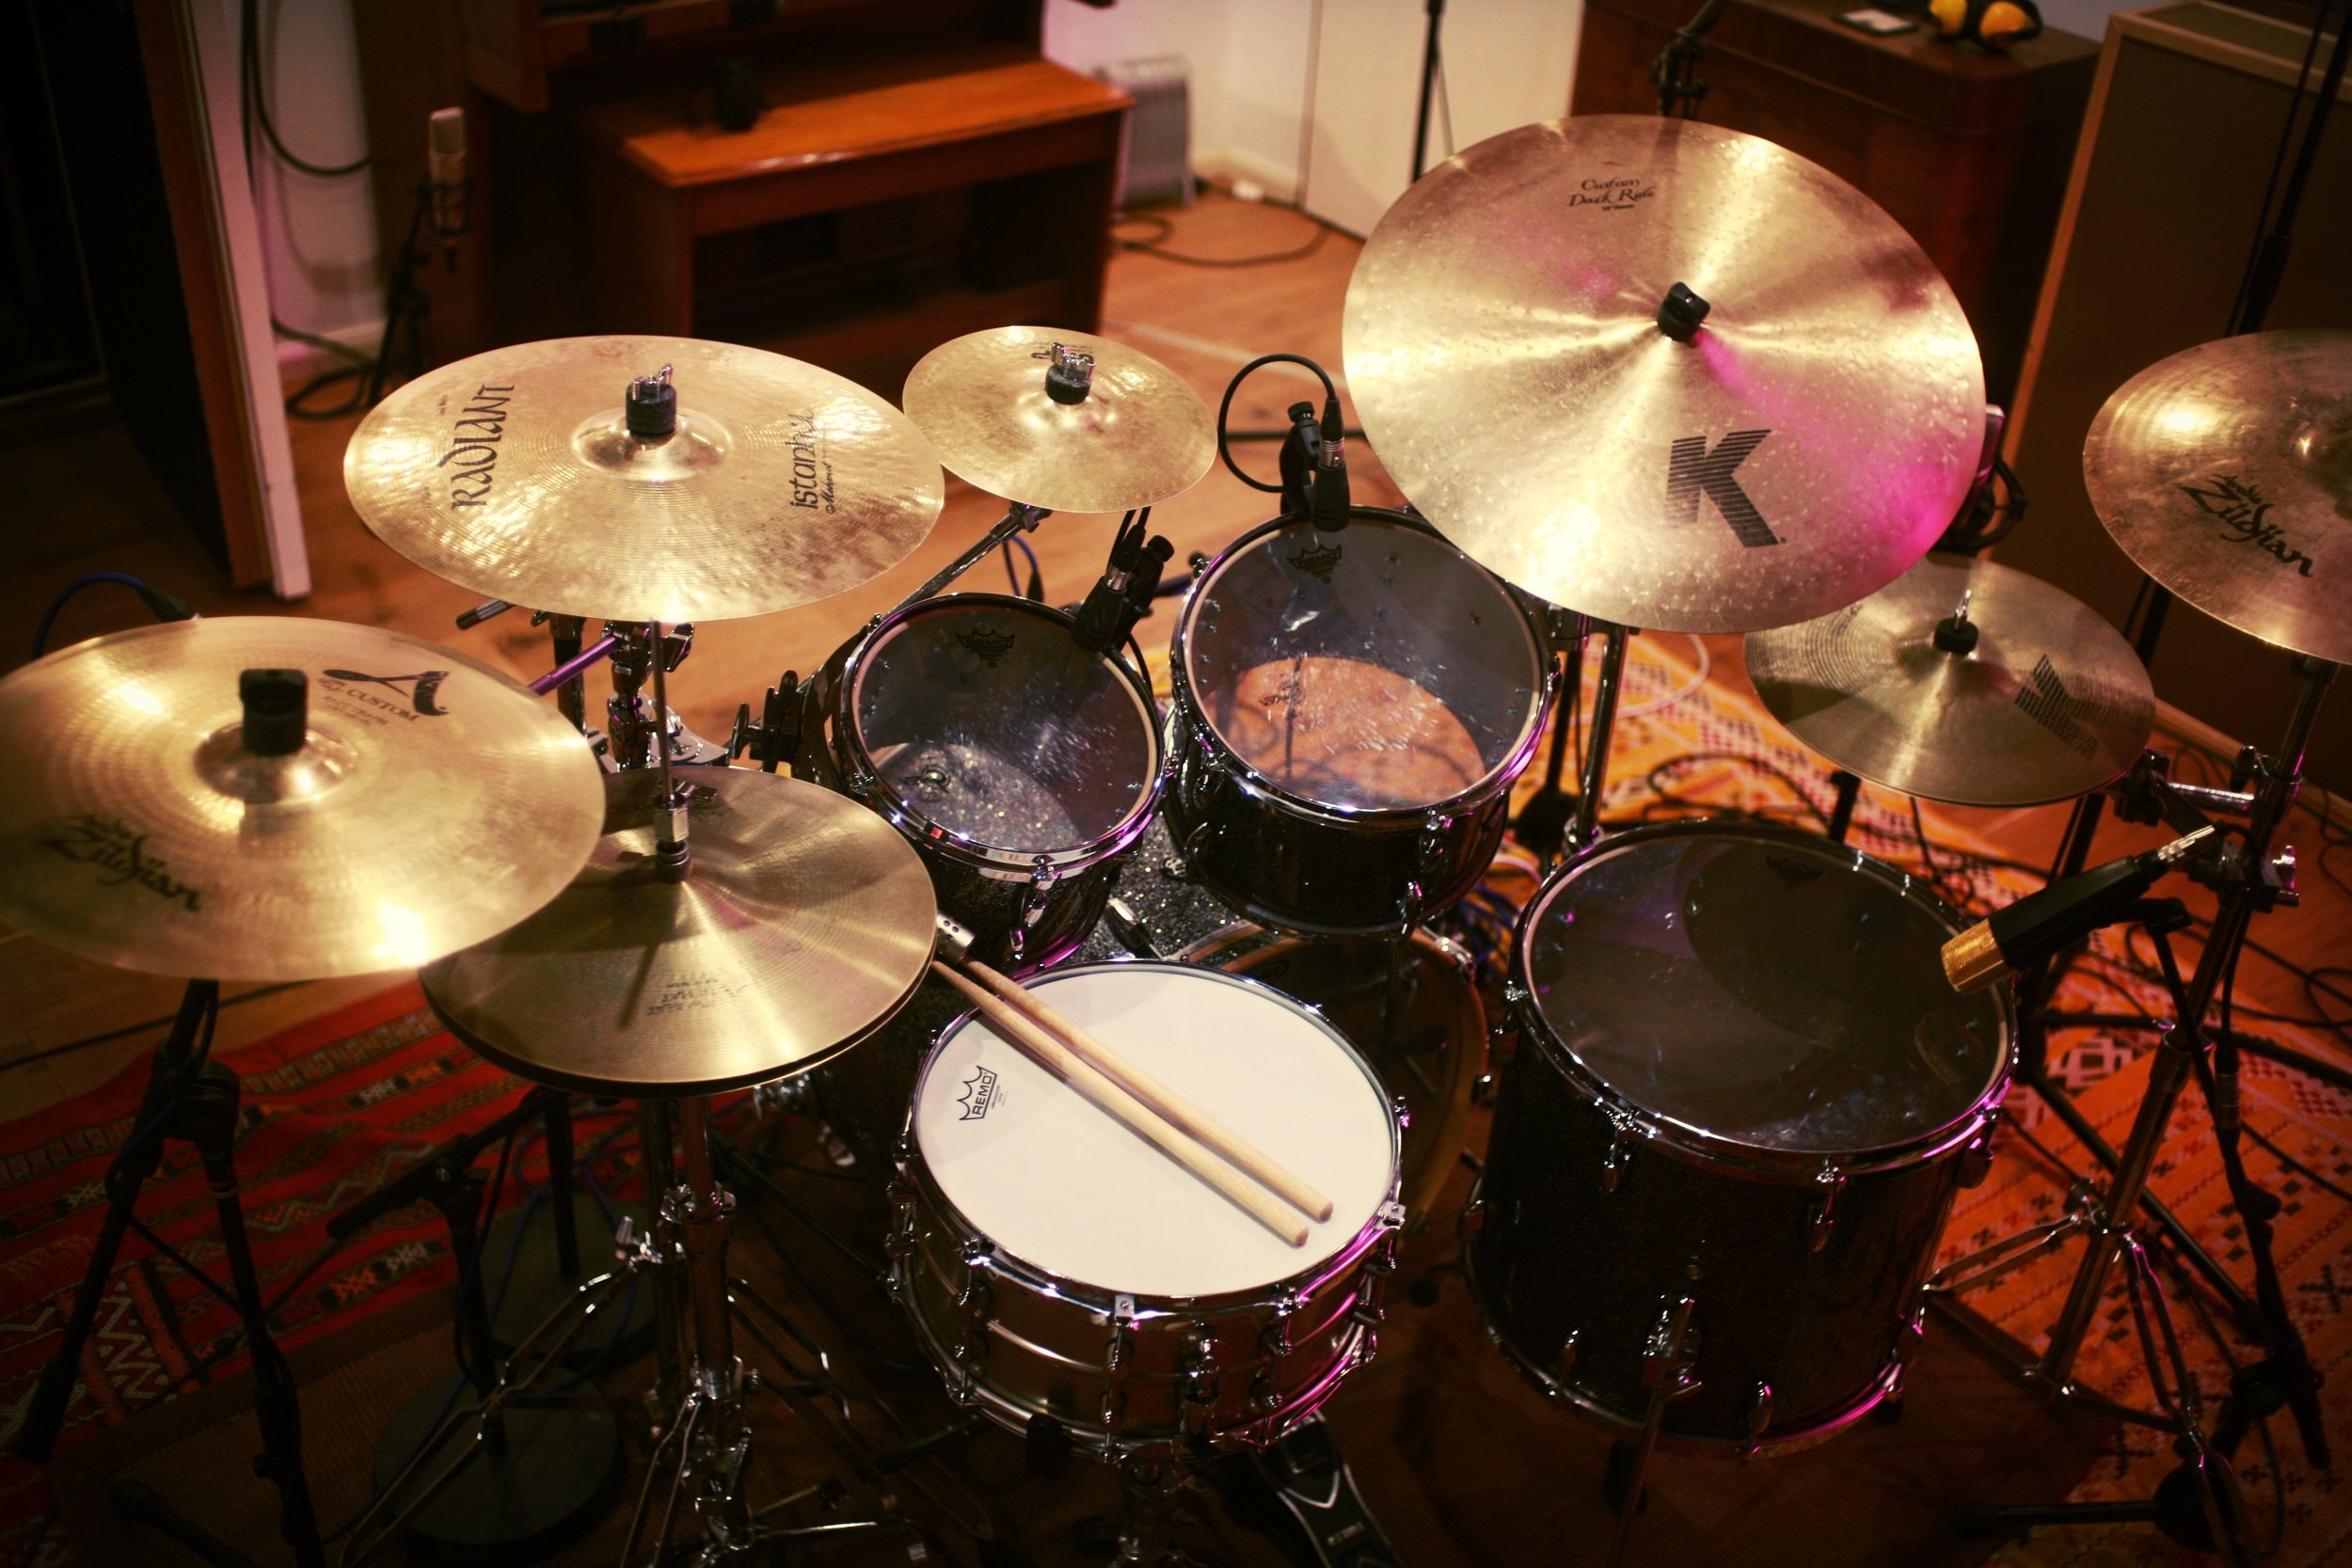
The drum kit normally consists of a primary set of drums and cymbals and a typical arrangement maybe as follows:
Cymbals
Hi hats, Crash and Ride cymbals
Drums
Kick, Snare, High Tom, Mid Tom and Floor Tom
The unique construction of these two types of instrument and their different dimensions create a diverse range of sounds and frequencies. In order to record them successfully it's essential to choose the correct type of microphone and know where to place it!
Mic Choice & Placement
If you listen to the acoustic drum kit in relatively close proximity the first thing that you'll probably notice is that it's loud. In fact it's ear splittingly, bone crunchingly loud! I remember once in a Sanguine Hum gig that our then drummer Paul hit the snare drum with such gusto, that the sound of the drum nearly knocked me over! It literally disorientated me. Dare I say it even discombobulated me.
Given that the drums have the potential to be so loud the mics that you choose should all have good high SPL handling (SPL - Sound Pressure Level). Mics with high SPL ratings can handle loud sources without being damaged or distorting, which is really important when working in close proximity to a drum or cymbal.
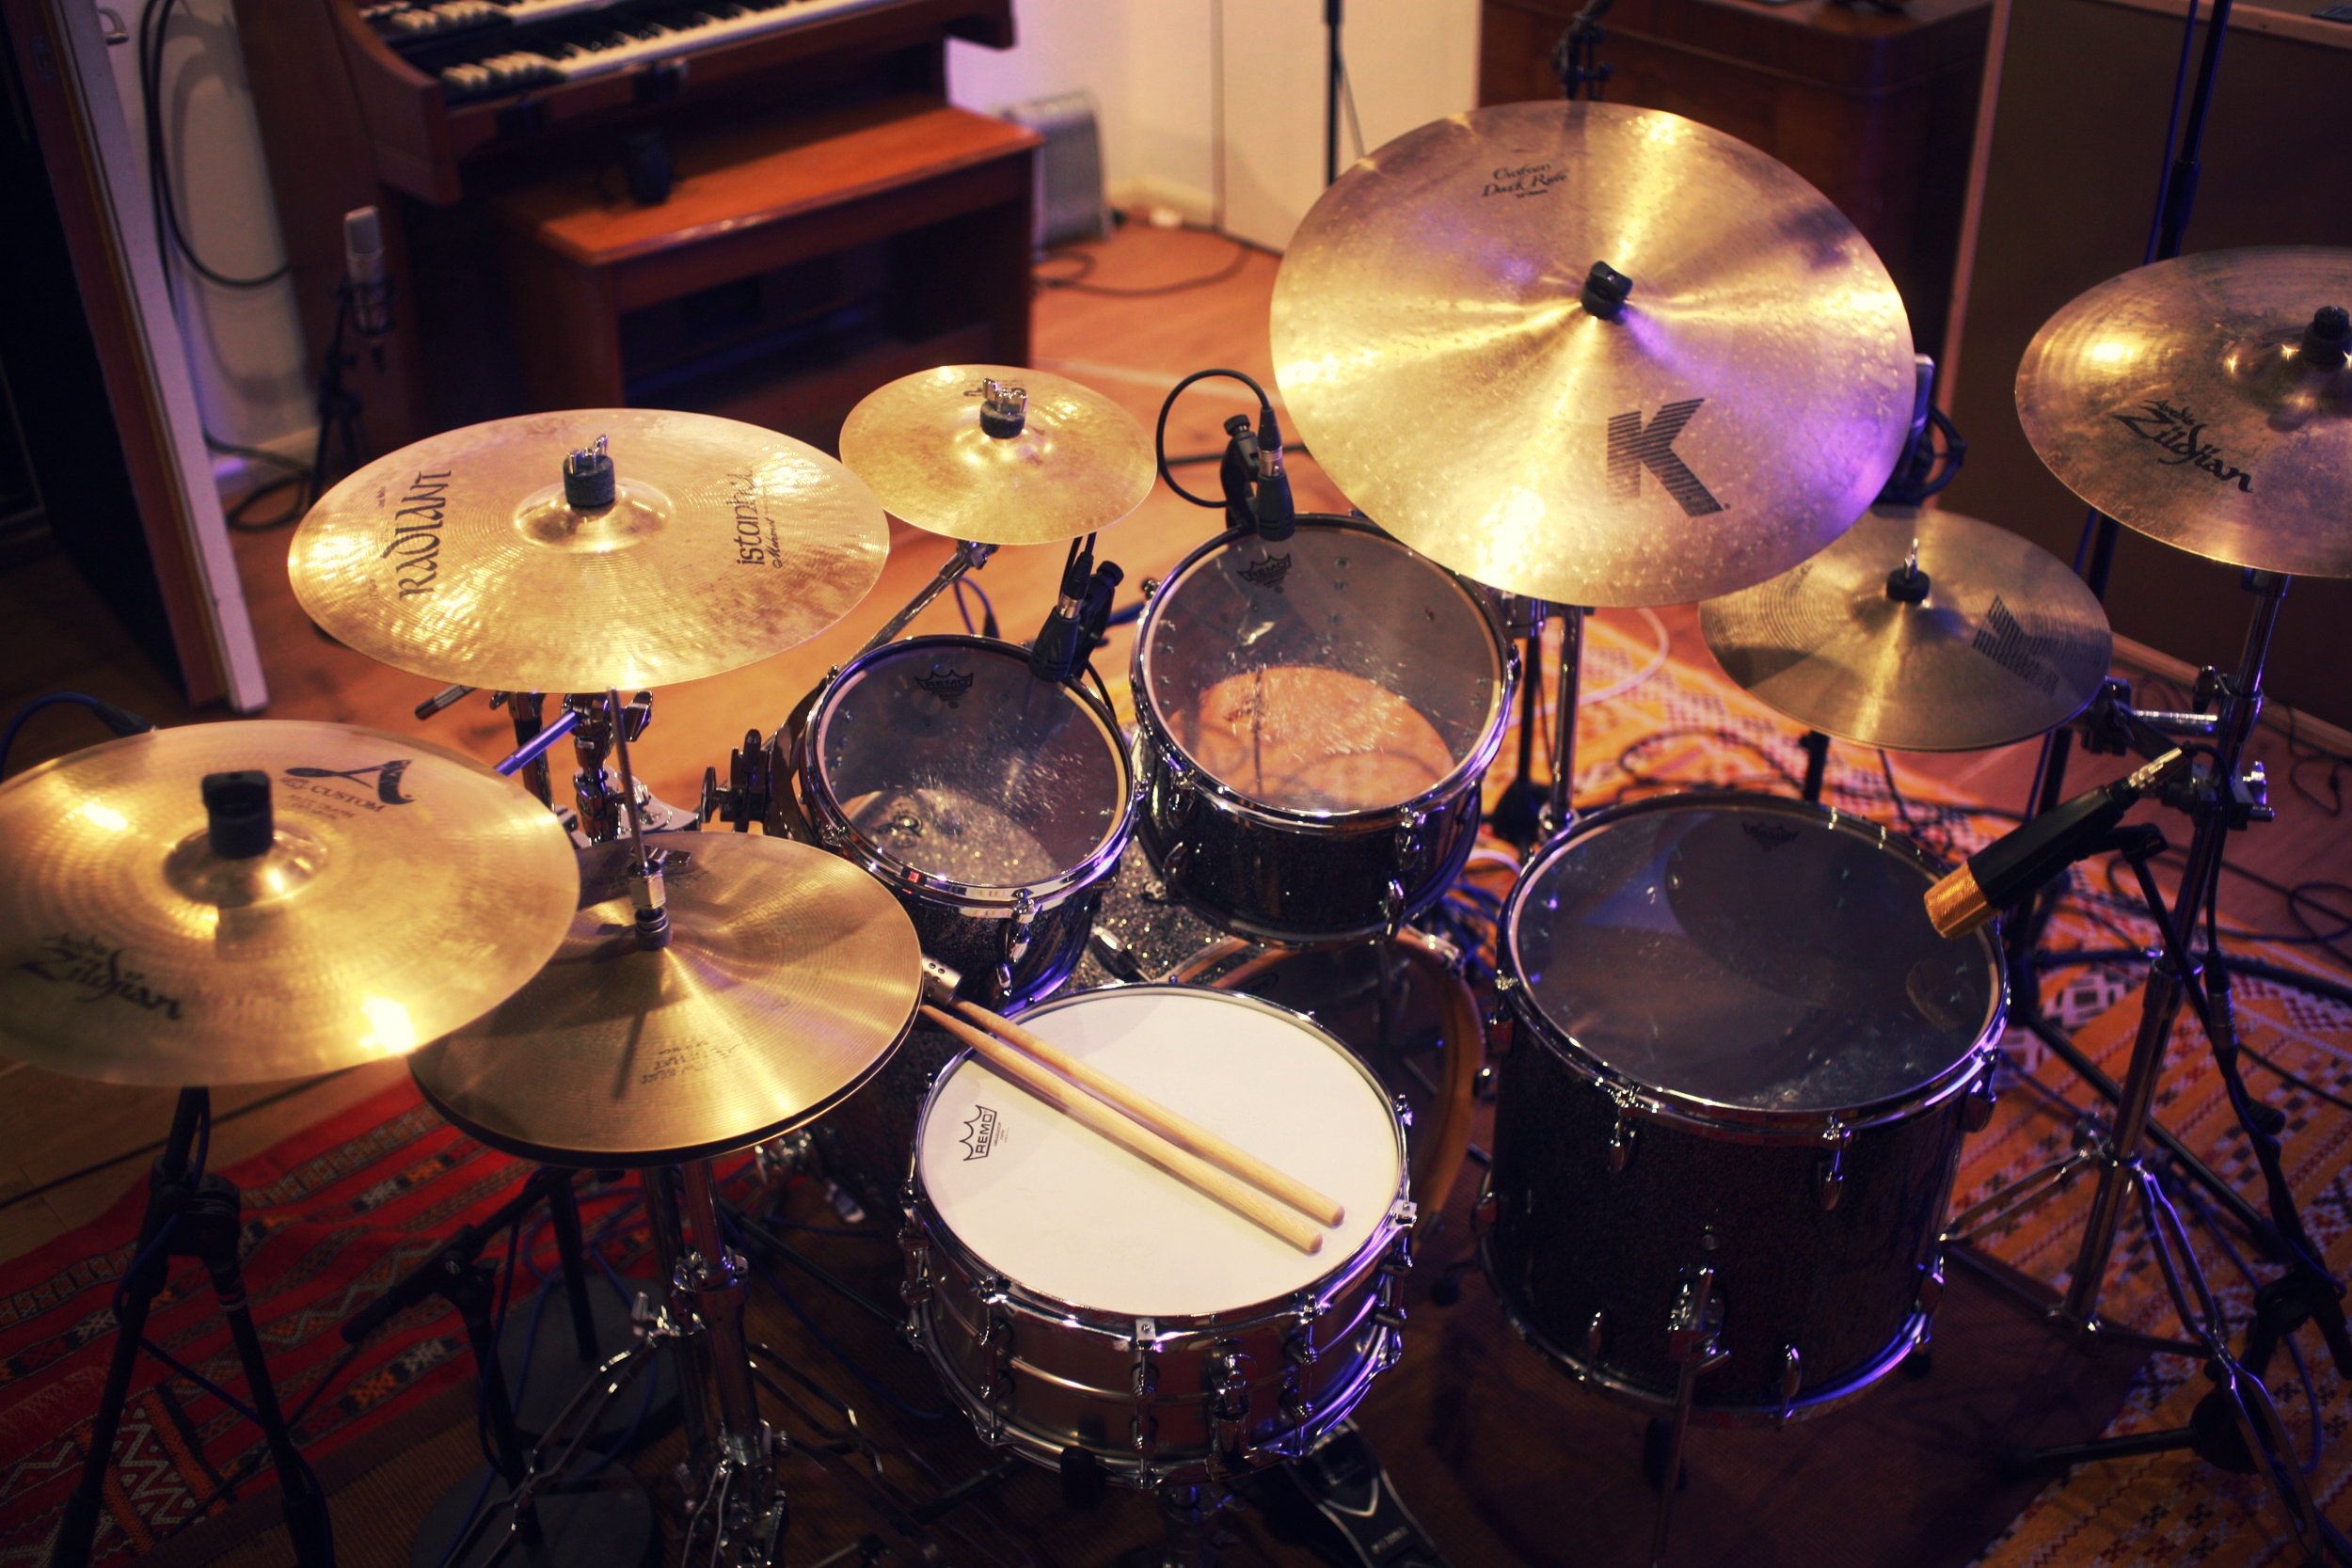
Overheads
The first mics that I usually set up are called the overheads. This is a pair of mics in a stereo configuration that sit above the dum kit. There are two common arrangements:
Spaced pair - A matched pair of mics positioned either side of the kit
XY (Blumlein Pair) - A coincidentally arranged matched pair of mics positioned above the centre of the kit
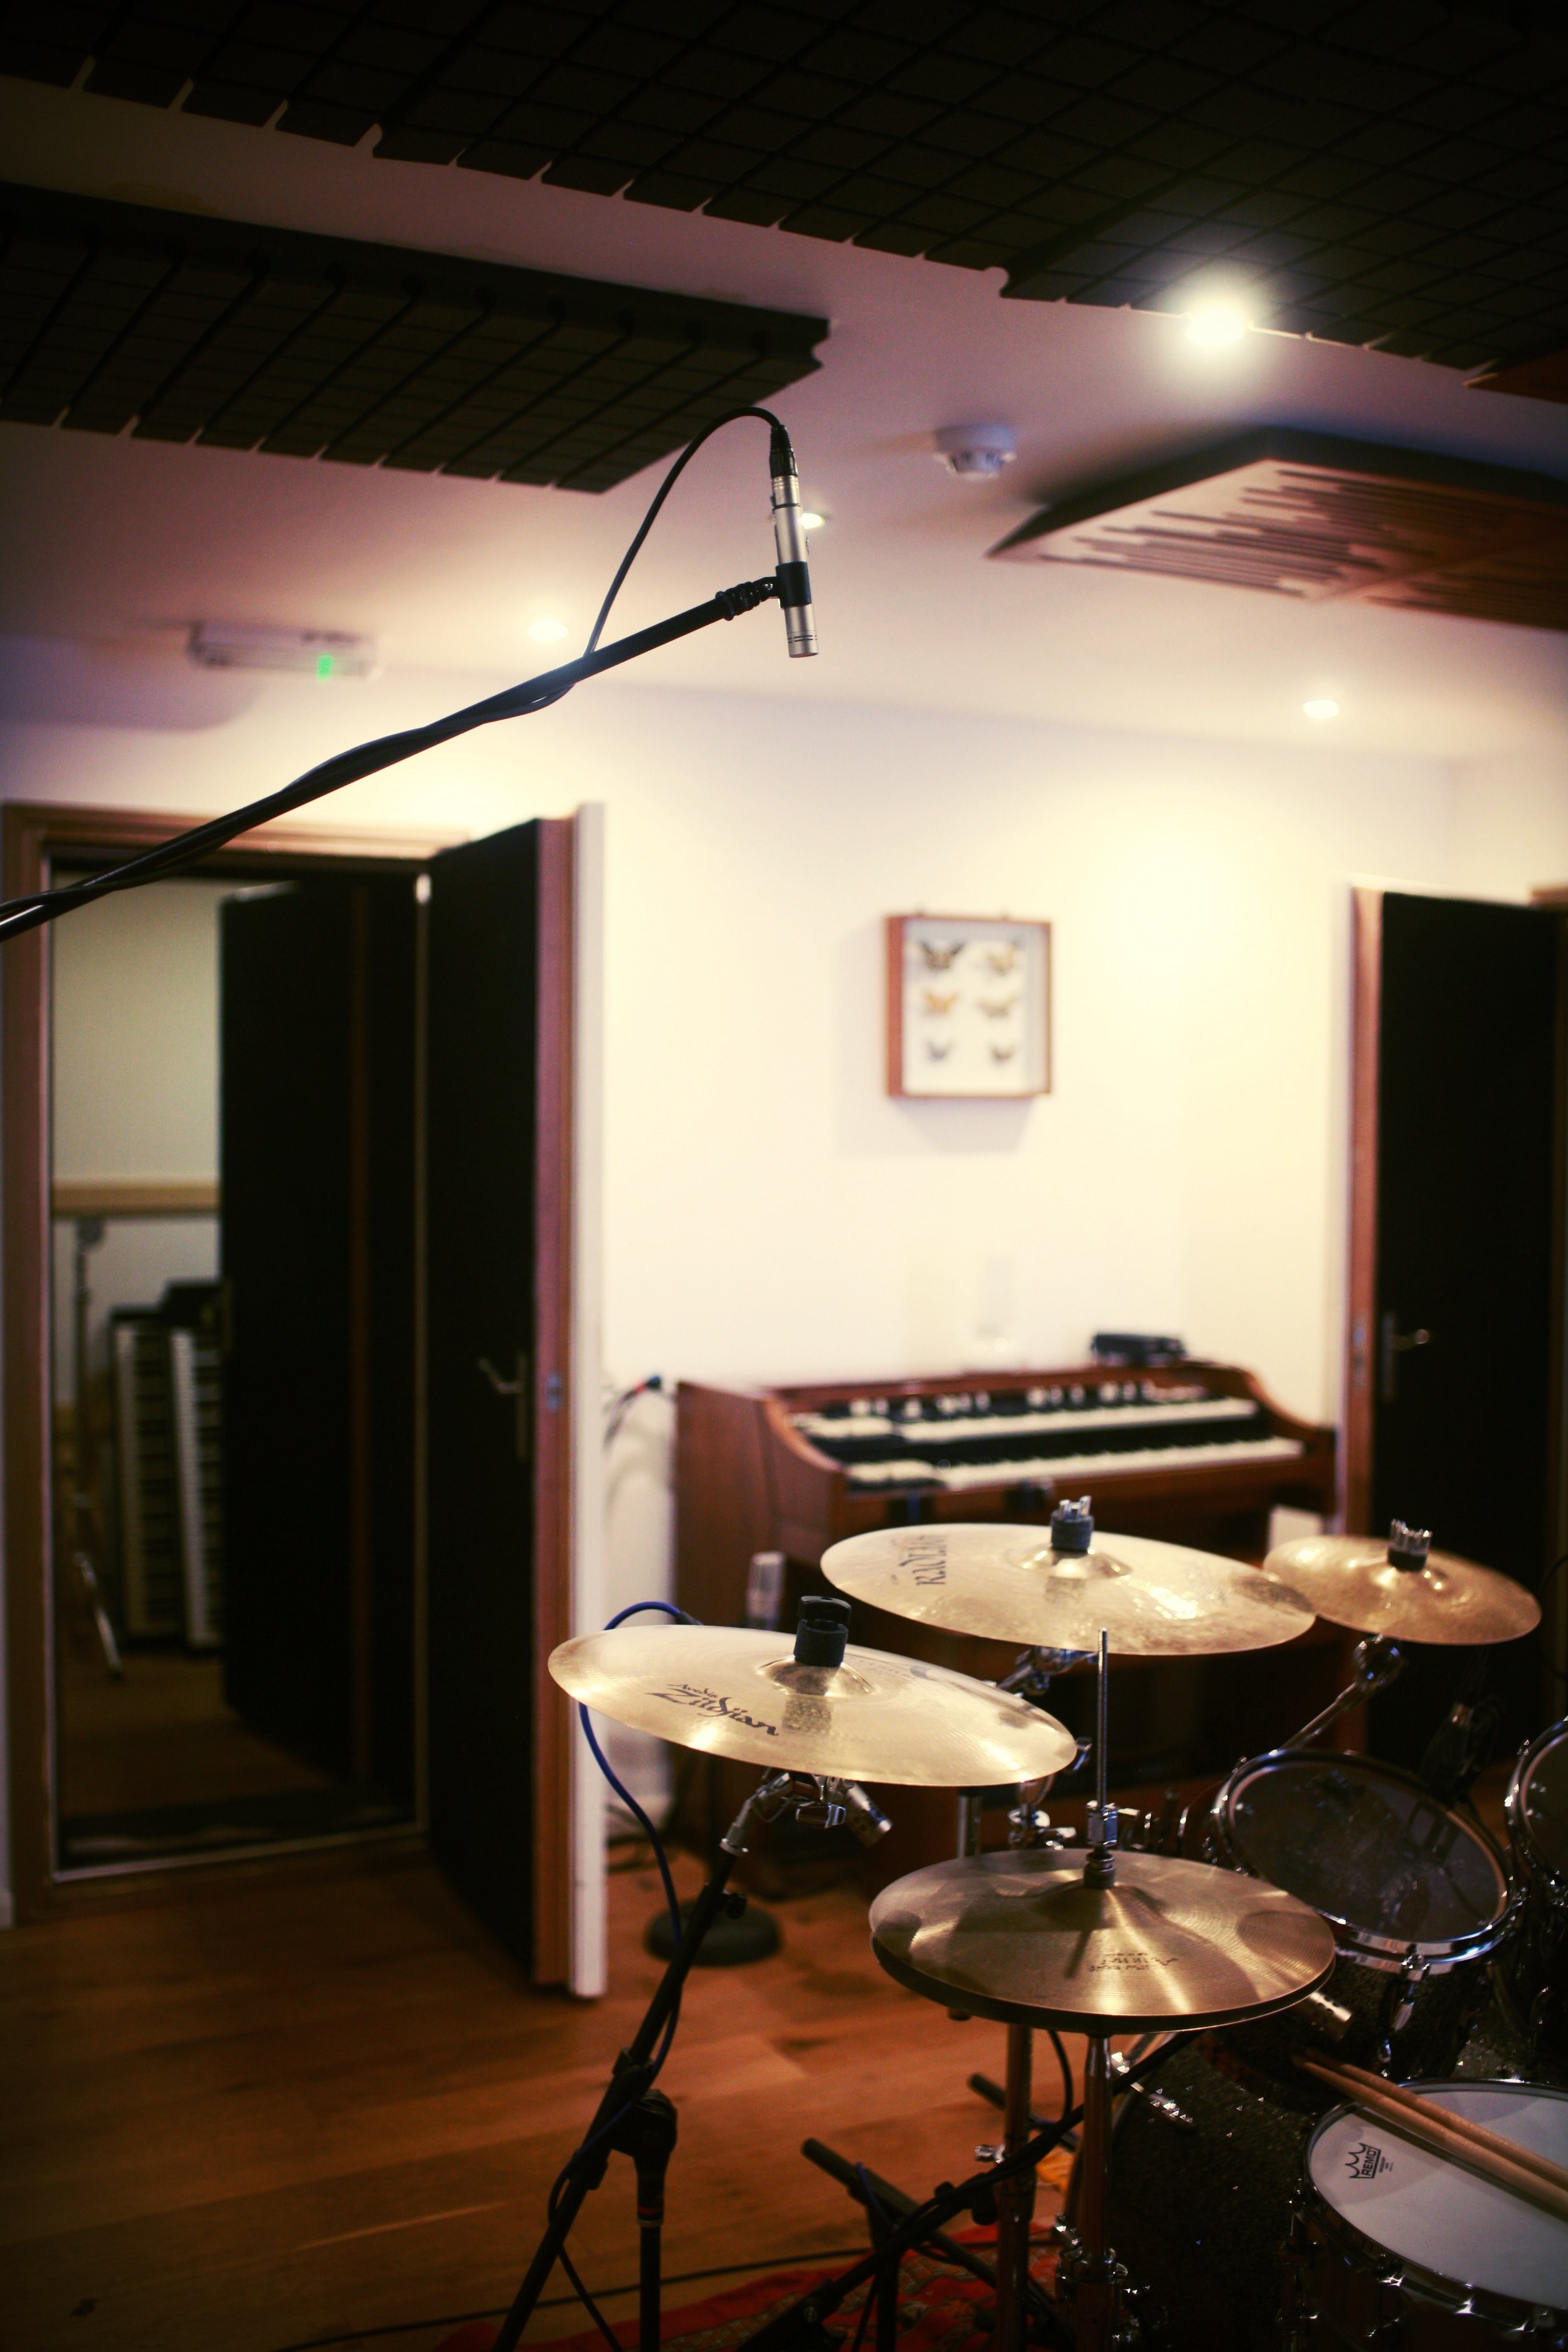
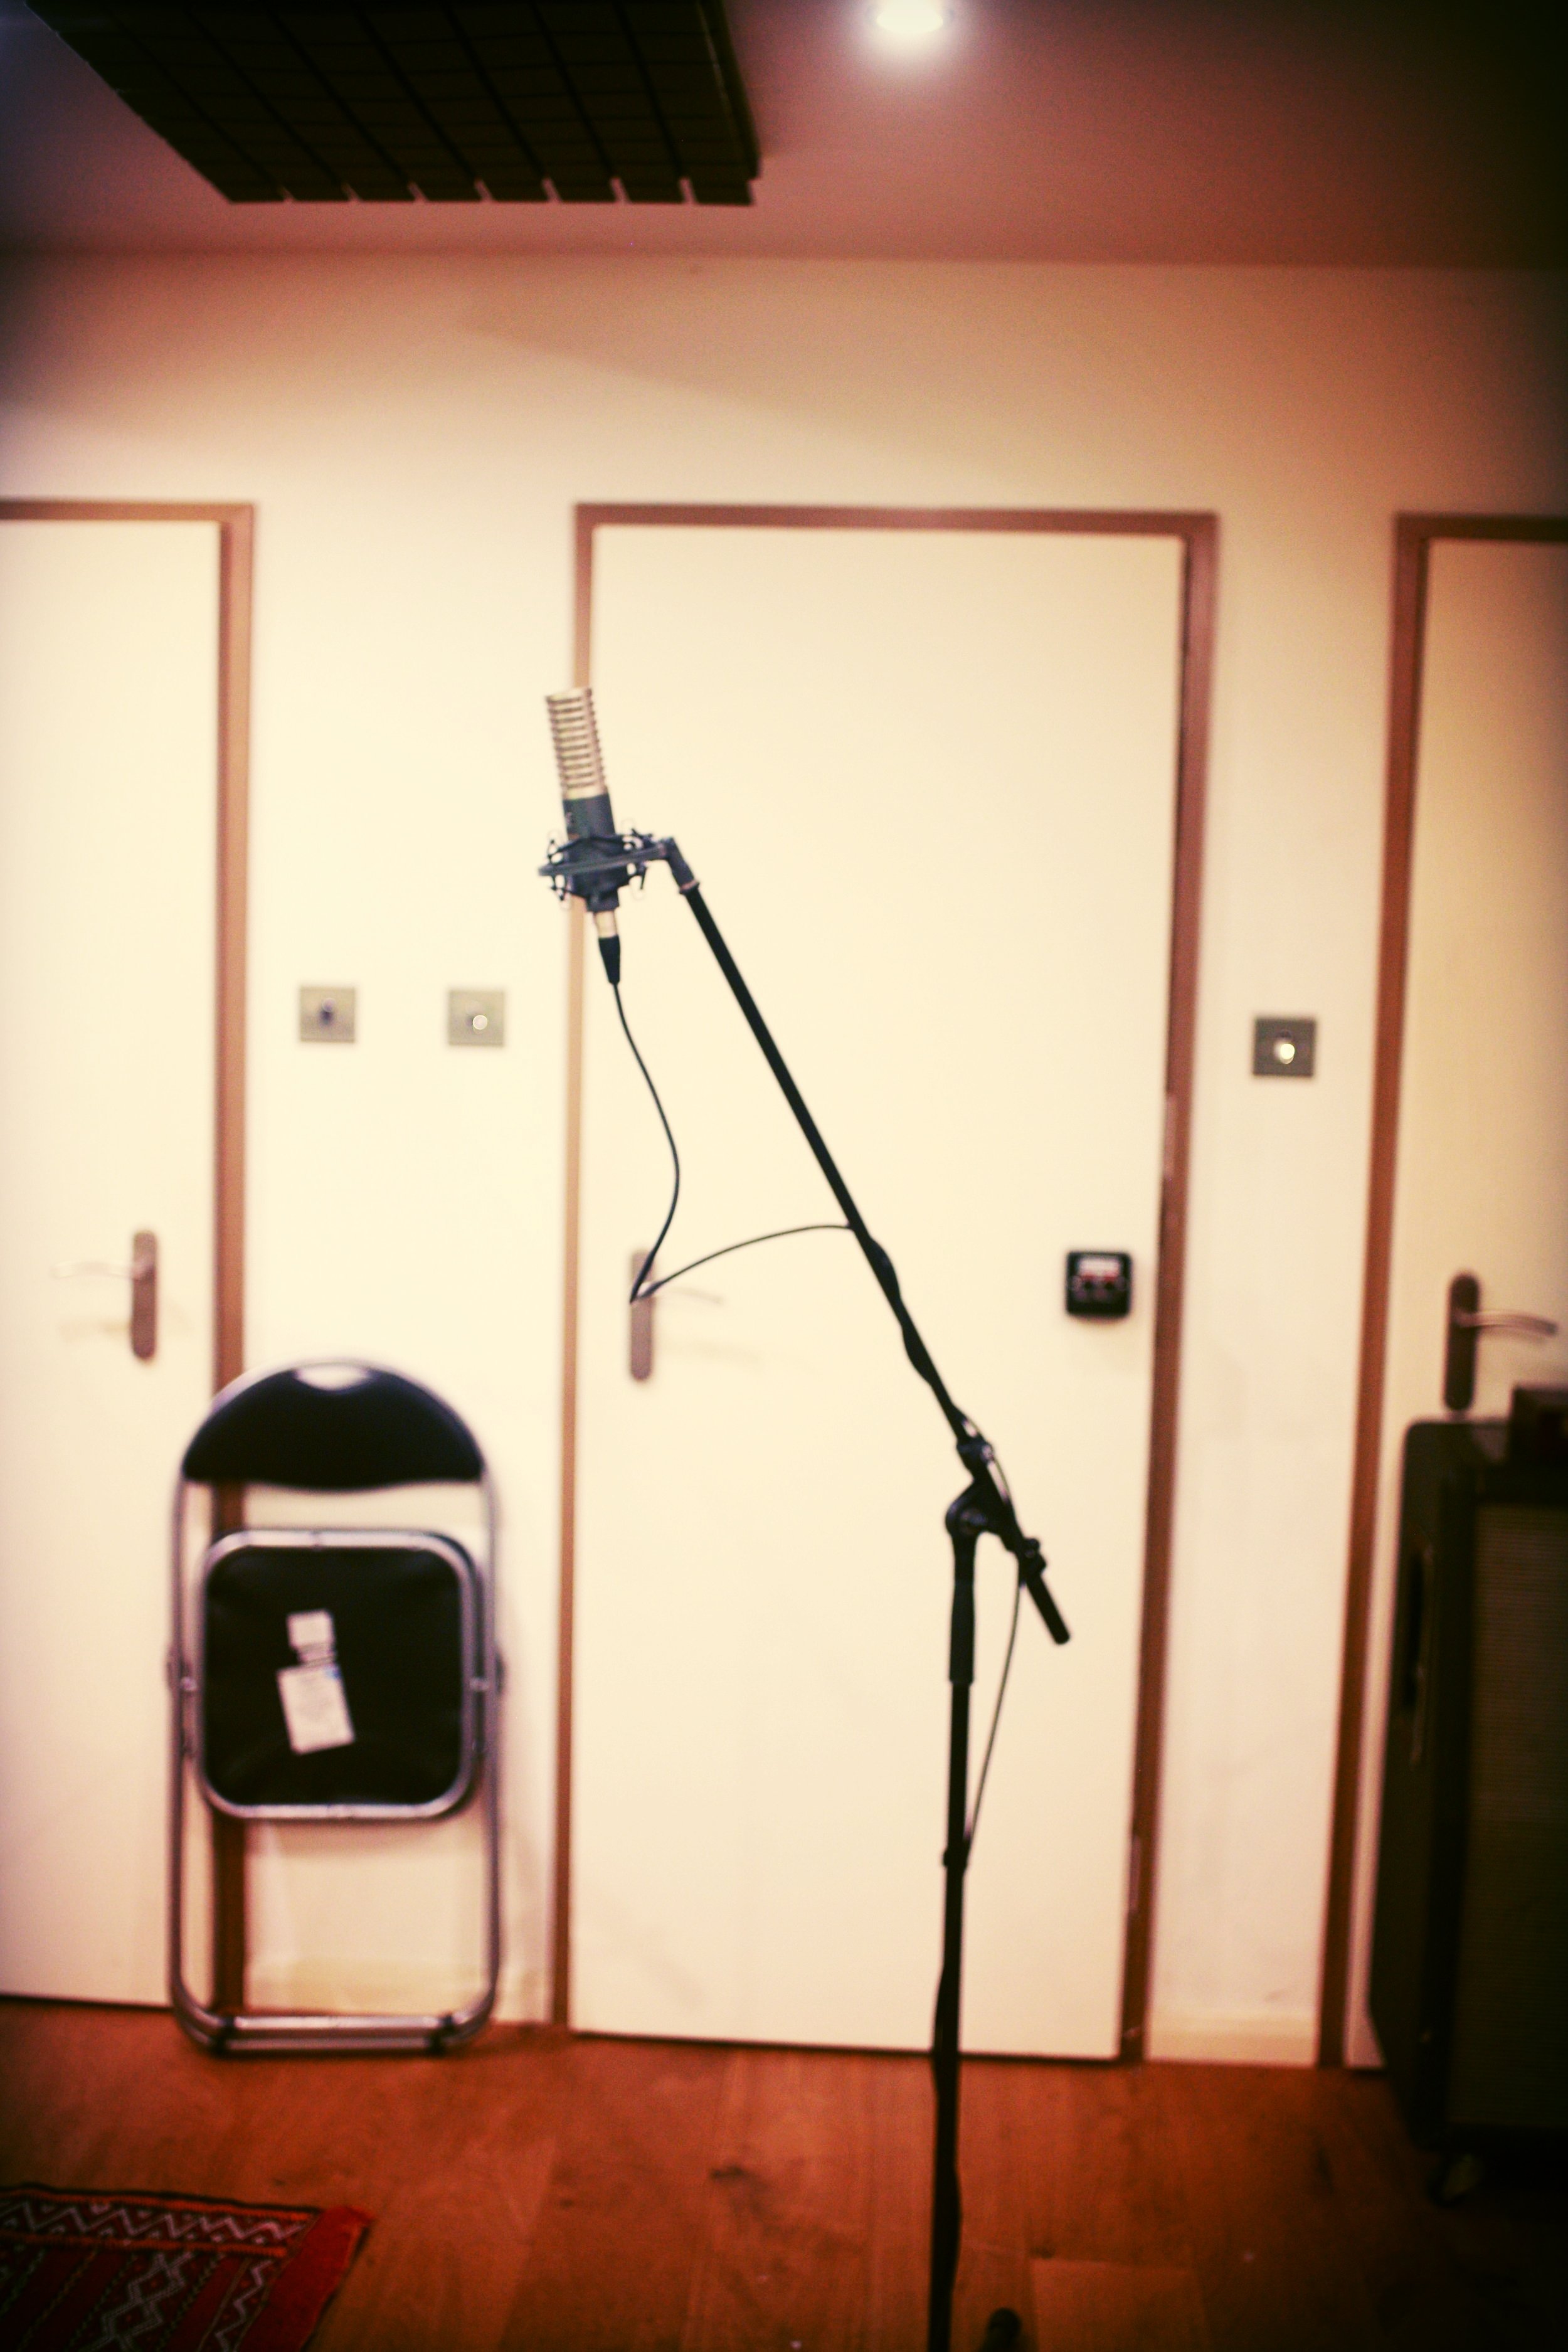
Generally the mics that are used to record drums are dynamic due to their high SPL handling and tend to be directional. This helps to focus the recordings of individual parts of the kit and allows a good degree of control in post production. However for overhead mics I favour small capsule condenser designs such as the Neumann KM184 or ribbon mics for their smooth, silky top end.
The overhead mics tend to be high-pass filtered in post production but you should aim for a balanced recording of the entire kit. If using a spaced pair of mics do remember the 'three to one rule': Mics should be spaced three times wider apart than their distance from the source. This will help to control the phase variance between the mics and result in a much tighter recording. The mics should be placed directly above the kit with a reasonable working distance (two of more feet) with one mic sitting above the hi-hat side of the kit and the other sitting above the ride cymbal.
If using the XY configuration the mics should be clipped to one stand and placed above the centre of the kit.
Note: It's useful to have a tall mic stand for this job so you can easily get the required height.
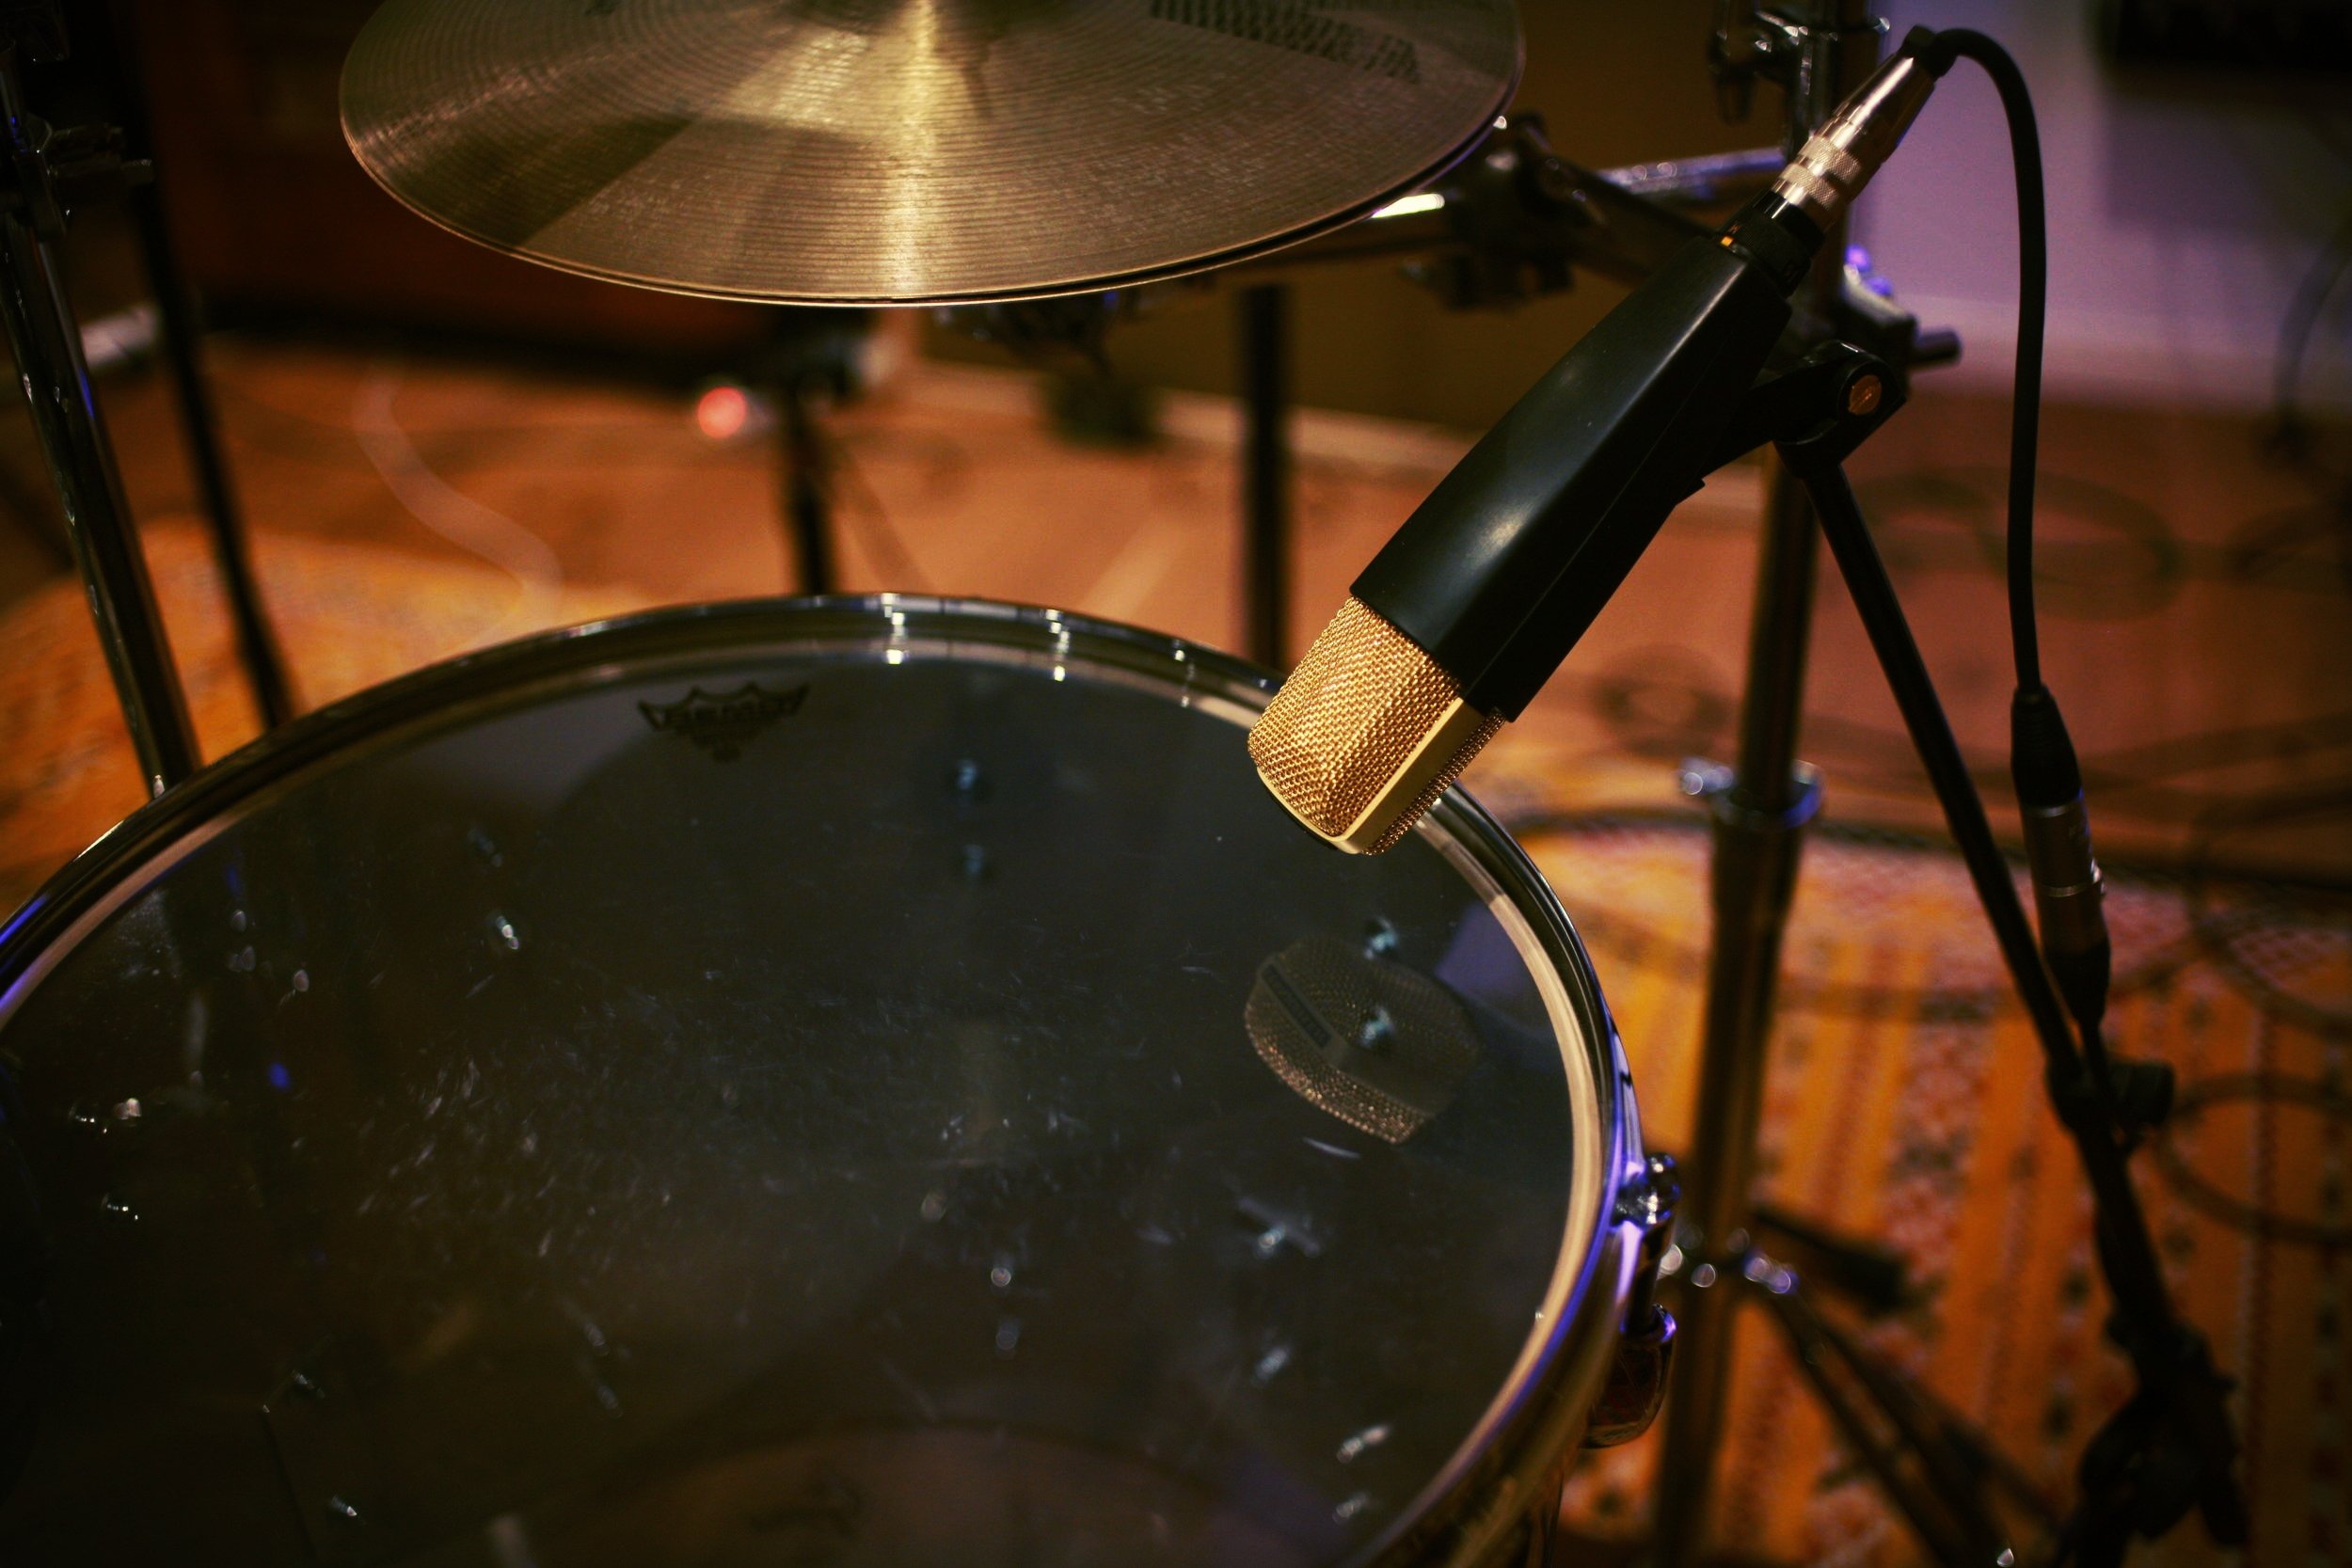
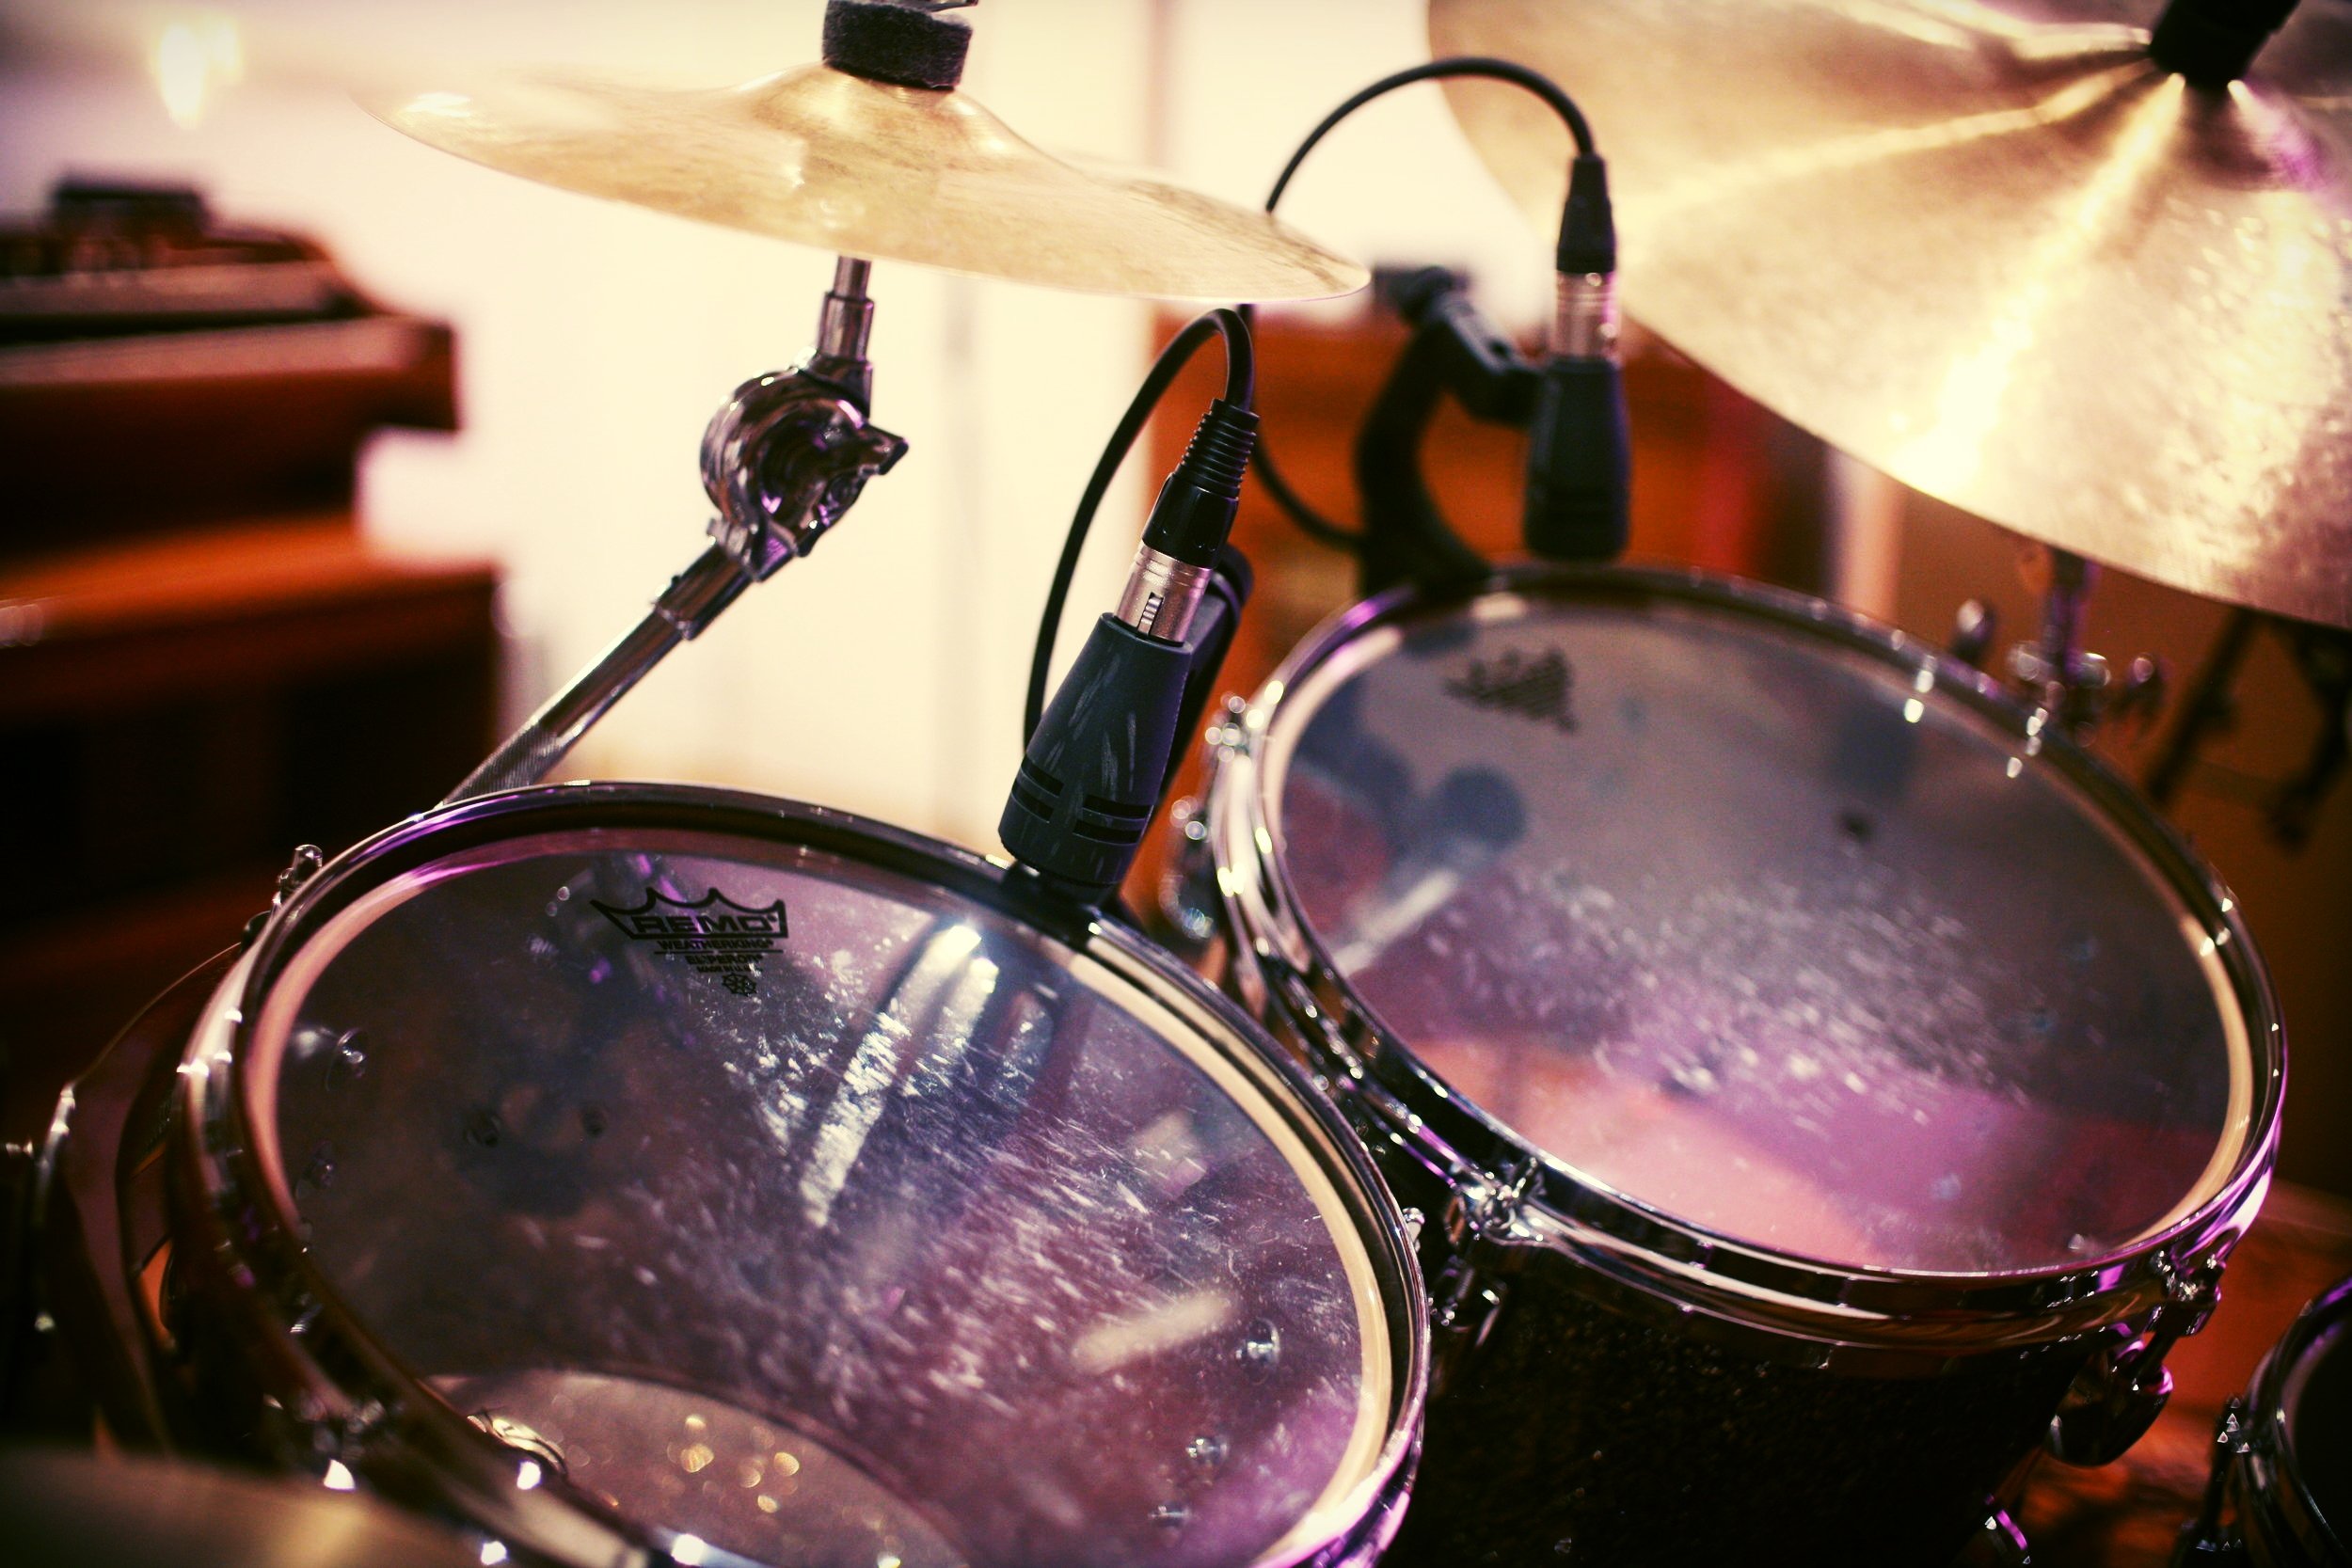
Snare
The snare drum is typically recorded from both the top and bottom skin. This is because much of the character of the drum comes from the snares: a series of metal springs stretched across the bottom skin.

Note: If working with microphones in opposing directions one of the mics will need phase inverting. In this case the underside mic should be phase inverted by 180 degrees to match the top.
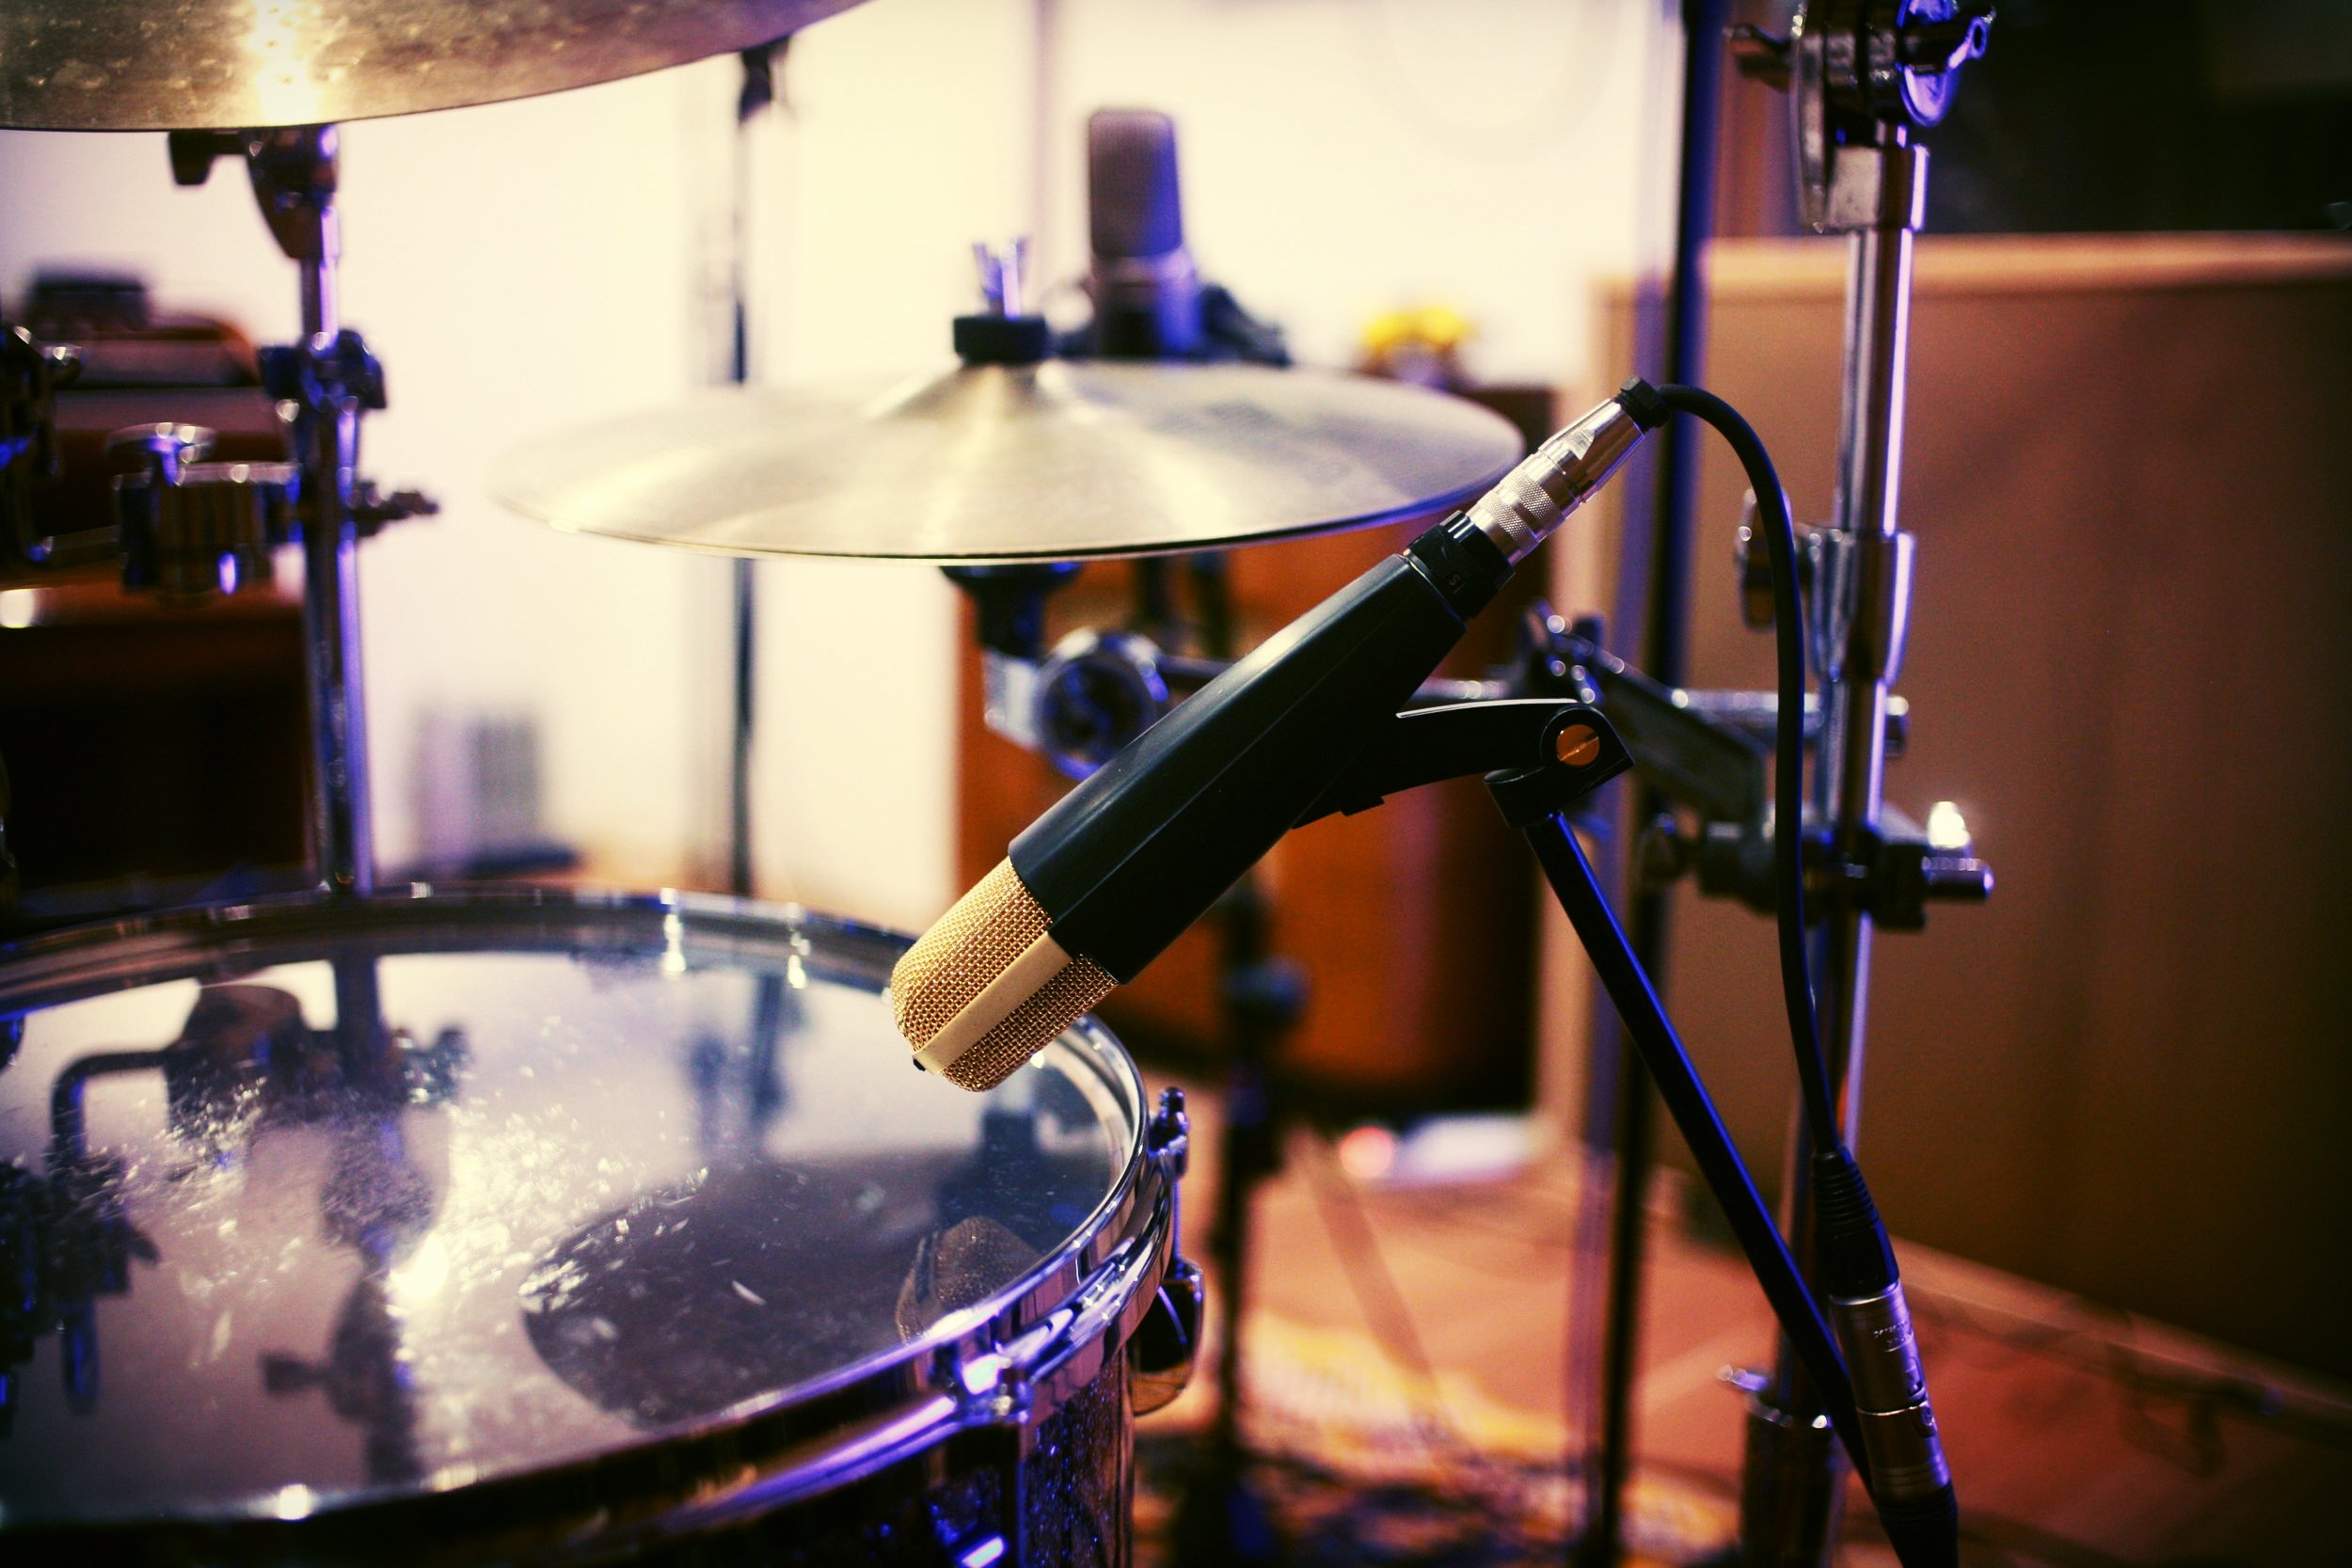
Mic choice for the snare drum can be varied. Typically the snare drum is recorded using a dynamic mic such as an SM57, although I've hand great success using small capsule condenser mics such as the SE4, which have high SPL handling when using the -10db pad. The capsule should have a cardioid polar pattern for greater directional control.
Top skin: The mic should be placed close to the skin (1-3 inches) facing in to the centre of the drum whilst sitting over the rim. The more the mic points into the rim of the drum the more prominently the 'ring' of the drum is recorded. The skin can be dampened using moongel or similar if the ringing sound of the drum is too intrusive.

Note: A well tuned drum is much less likely to cause problems with aberrant resonances or overtones
It's important to place the mic discreetly so that it's not in the way of the drummer whilst playing but also in a way that the mics natural rejection is aimed, as much as possible, towards the Hi-hat. This is to try to control the bleed of sound from the Hi-hat onto the top skin snare mic, which if not properly controlled can ruin a recording in post production.
The bottom mic is usually mounted on a low stand and set directly below the centre of the snare drum at a working distance of between 1 and 3 inches.
Note: Directional mics become more bottom heavy the closer they are to the source. Remember that changing the working distance of a mic is also going to effect the balance of recorded frequencies.
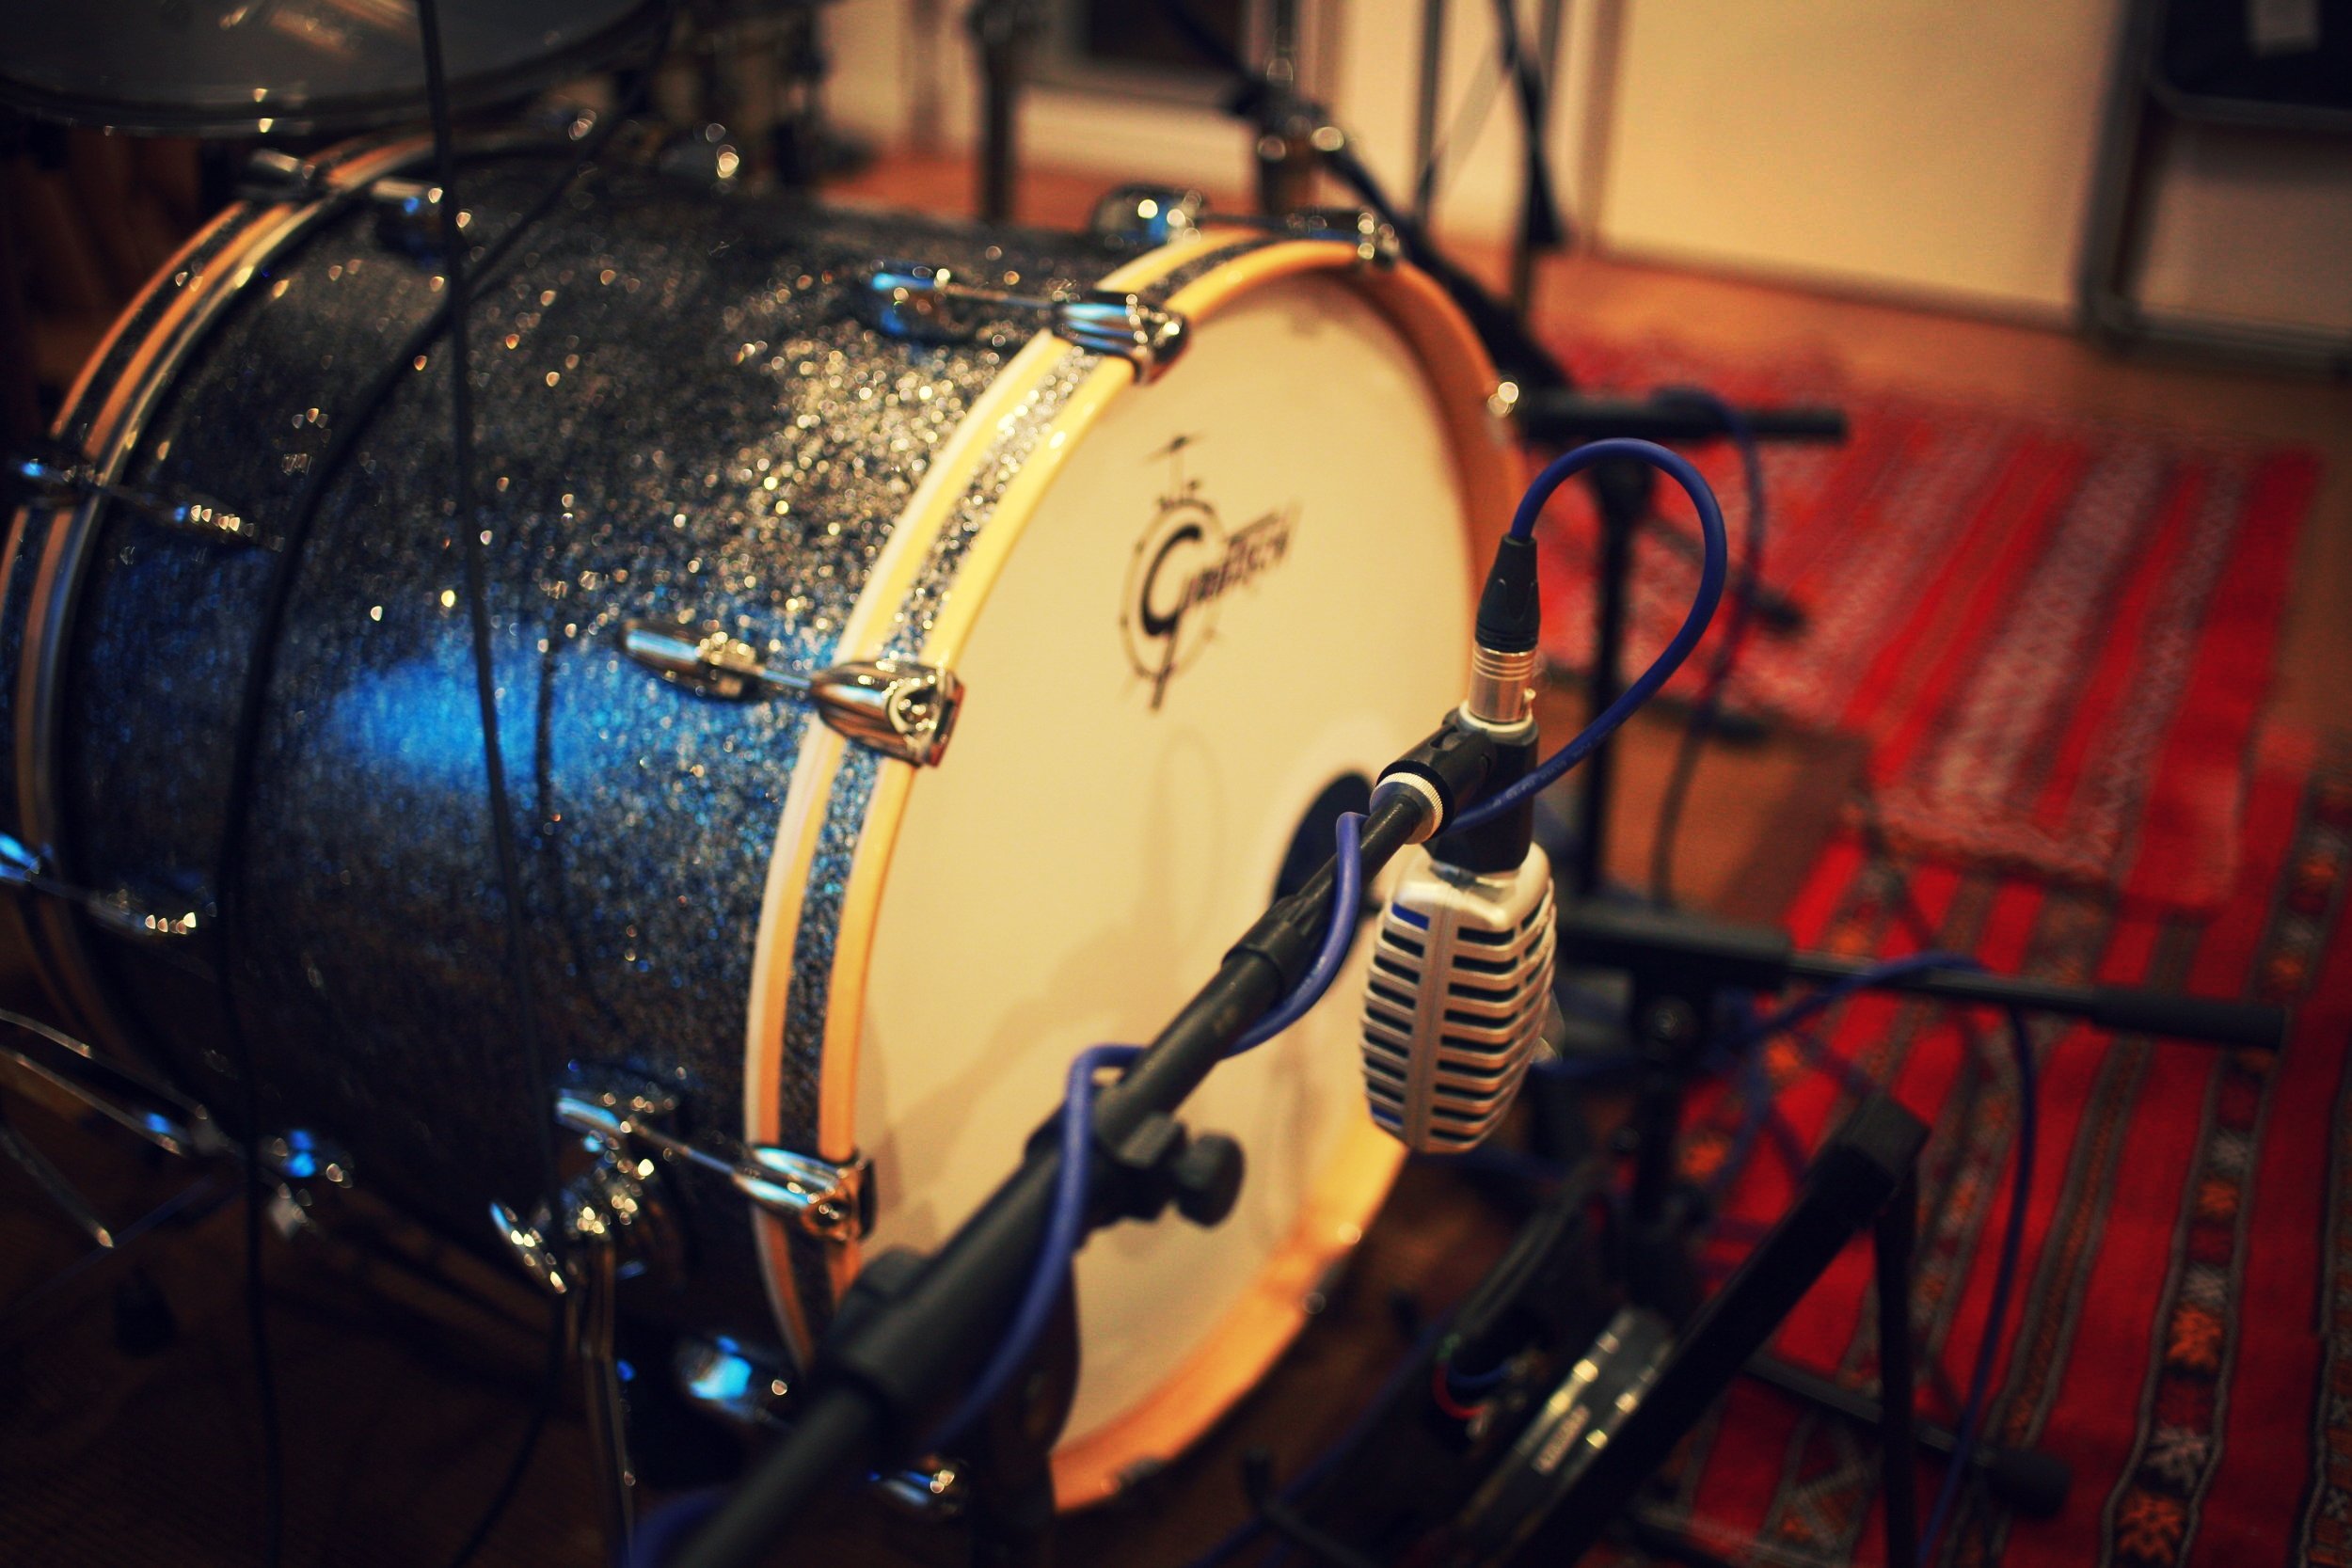
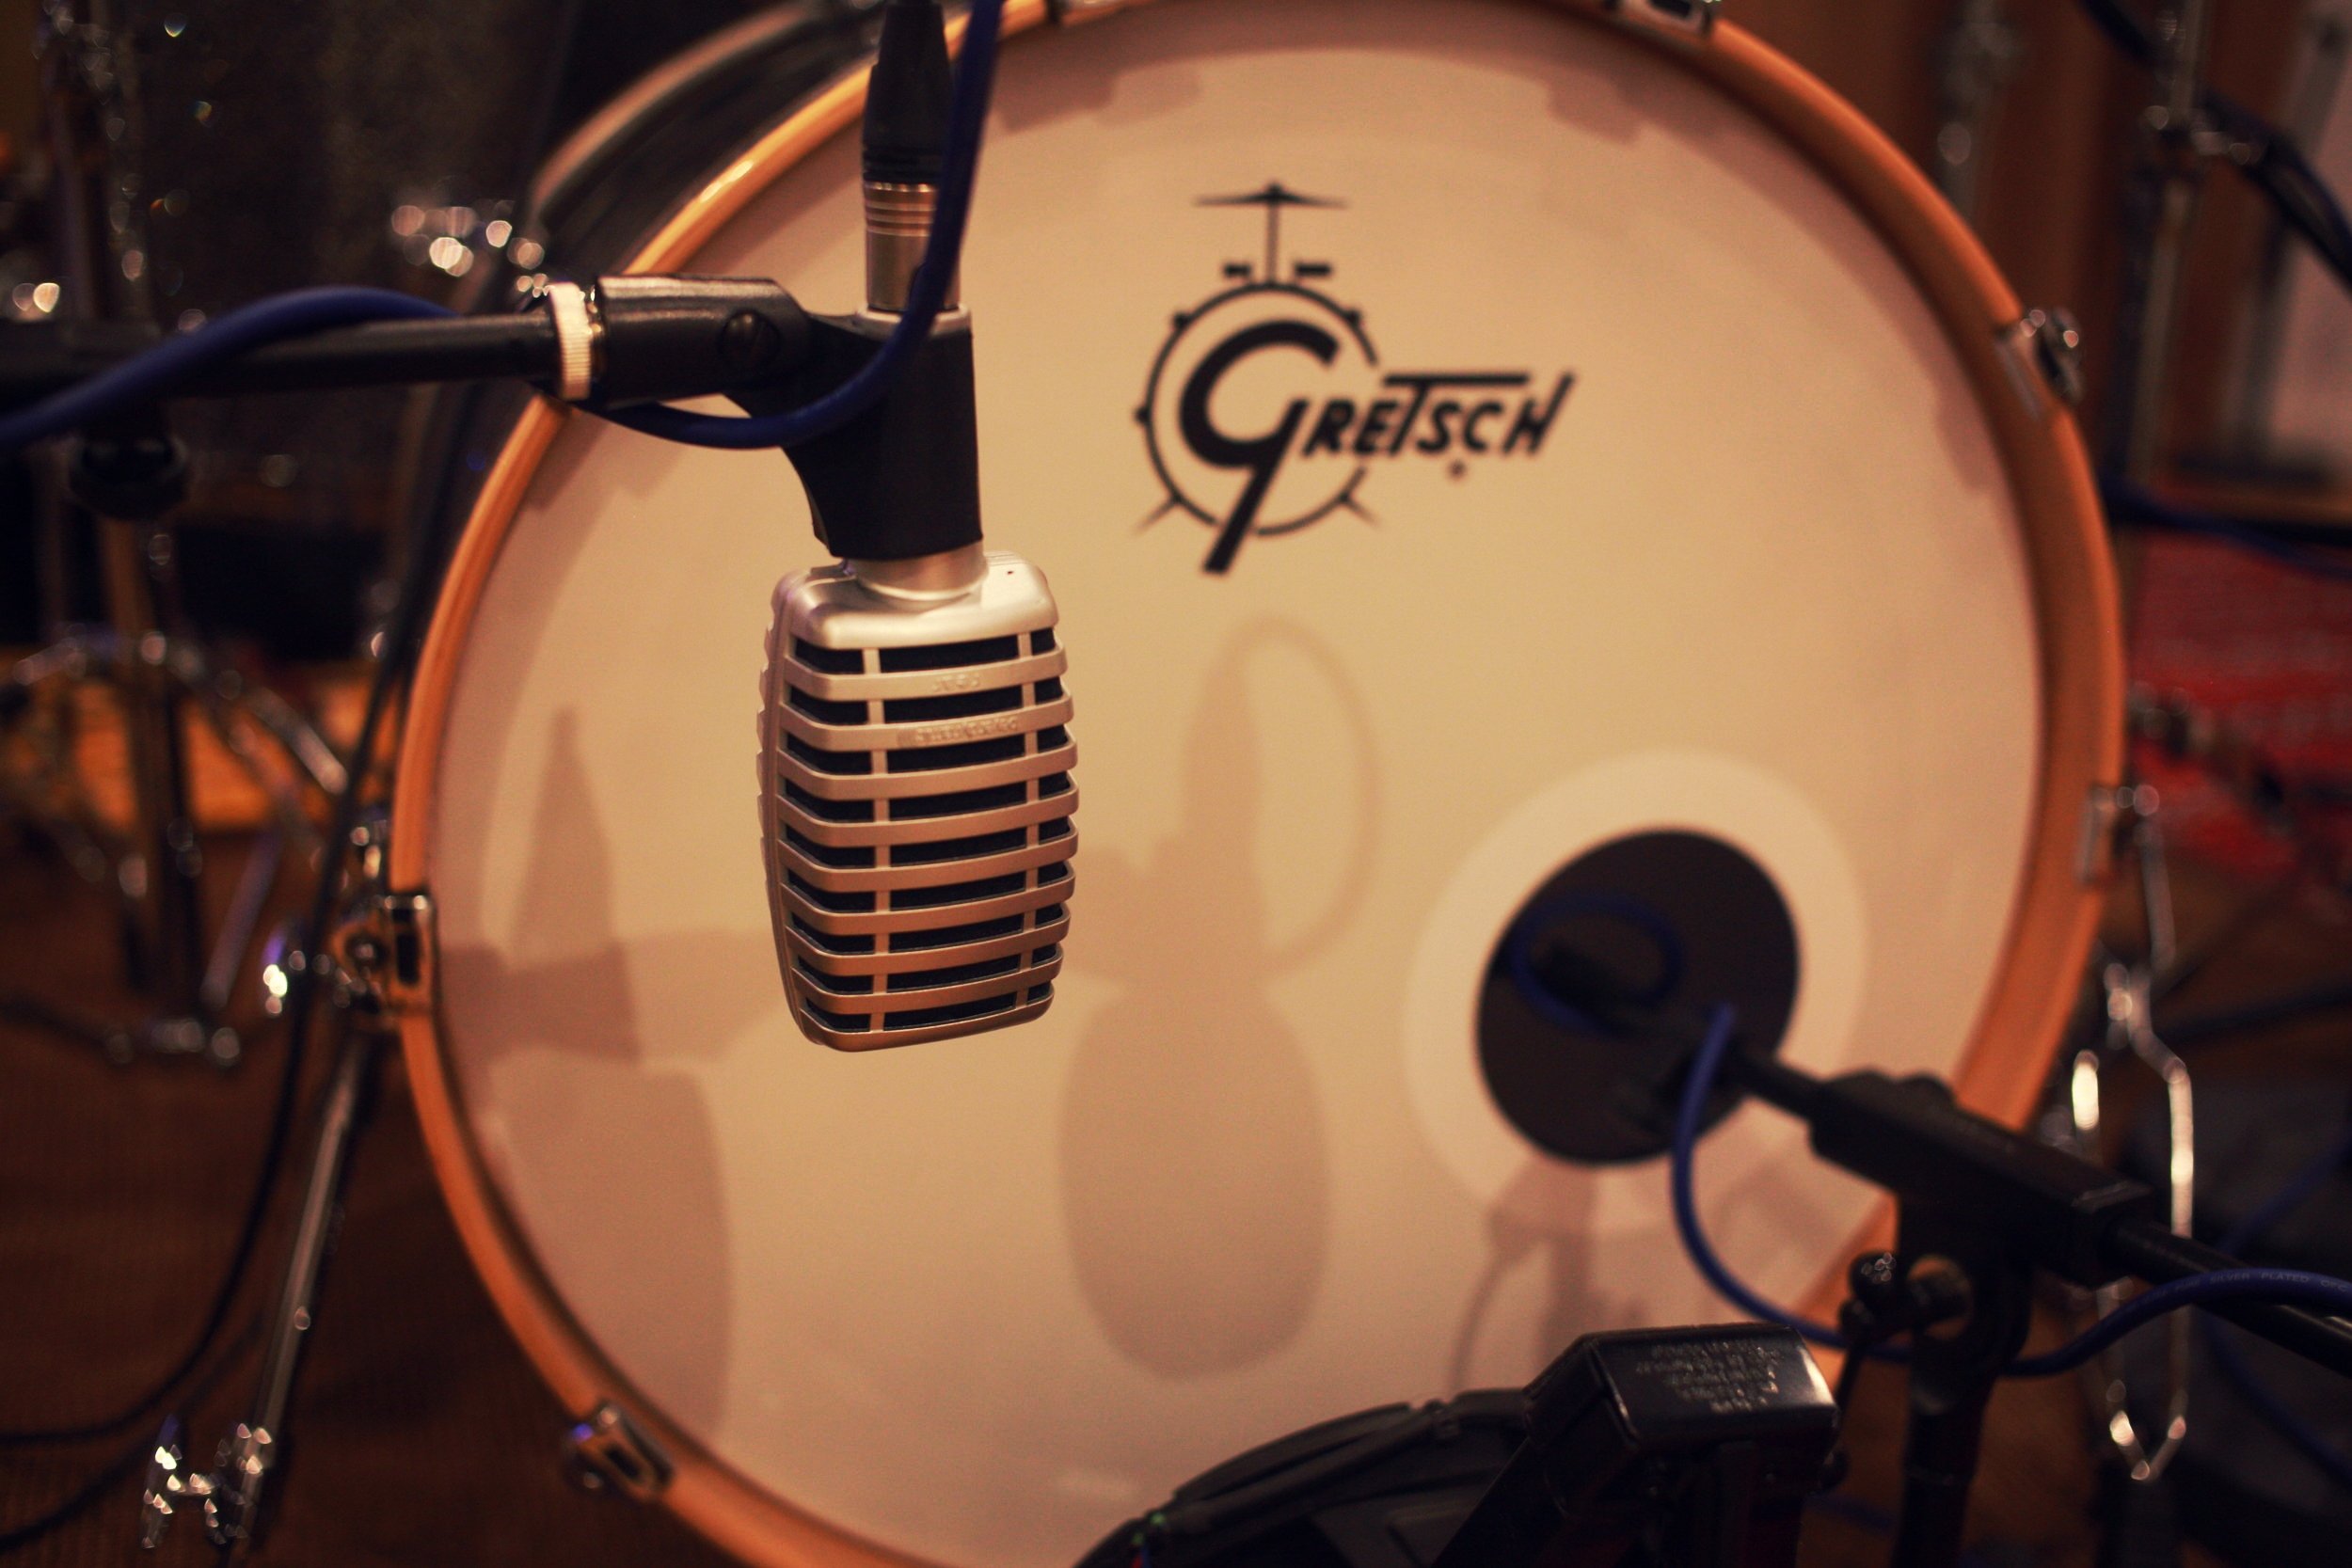
Kick Drum
The kick drum sits at the heart of the drum kit. It's the largest drum in the ensemble and is played with a beater that is connected to a foot pedal. The beater strikes the centre of the front skin. The opposite skin often has a hole cut into it, although it's not uncommon to find kick drums that have only the front skin attached. Either way the important thing is to be able to gain access to the front skin from inside the drum shell.

The mic is usually placed on a long armed low stand. It's useful to find a stand with a heavy base to stop it from tipping over. The mic is placed facing the beater and can be positioned on or off axis at aworking distance of 1-6 inches. When on axis the 'click' from the beater making contact with the skin is quite pronounced and can be useful in defining the attack, whilst the off axis position can be useful when controlling an overly aggressive playing style.
There are many mics designed specifically for use inside the kick drum such as the Shure Beta 52A or the AKG D112 but I prefer using an Electro Voice RE20. A good alternative is the RE320, which is slightly cheaper but still sounds great. My advice is be careful when choosing to place a mic inside the kick drum as it's liable to get broken if it's not up to the job!
The rear skin is also an important component of the the kick drum and I usually mic it using my trusty Beyer Dynamic Opus65. Placement really varies on the drum and room but keep in mind that this mic is facing the rest of the kit, so bleed from the other drums and cymbals is going to prominent! Try to find a situation for the mic in which the bleed is controlled and the recording is focused primarily on the kick drum. If done correctly this mic will add a natural open sound to the final recording.
Hi-Hats
The Hi-Hats are a very important part of the drum kit. They can be extremely nuanced and are played with a wide range of techniques. The Hi-Hats consist of two opposing cymbals controlled with a foot mechanism 'clutch' that varies how far apart the cymbals are from one another, ranging from fully open to fully closed where the cymbals are clamped together.
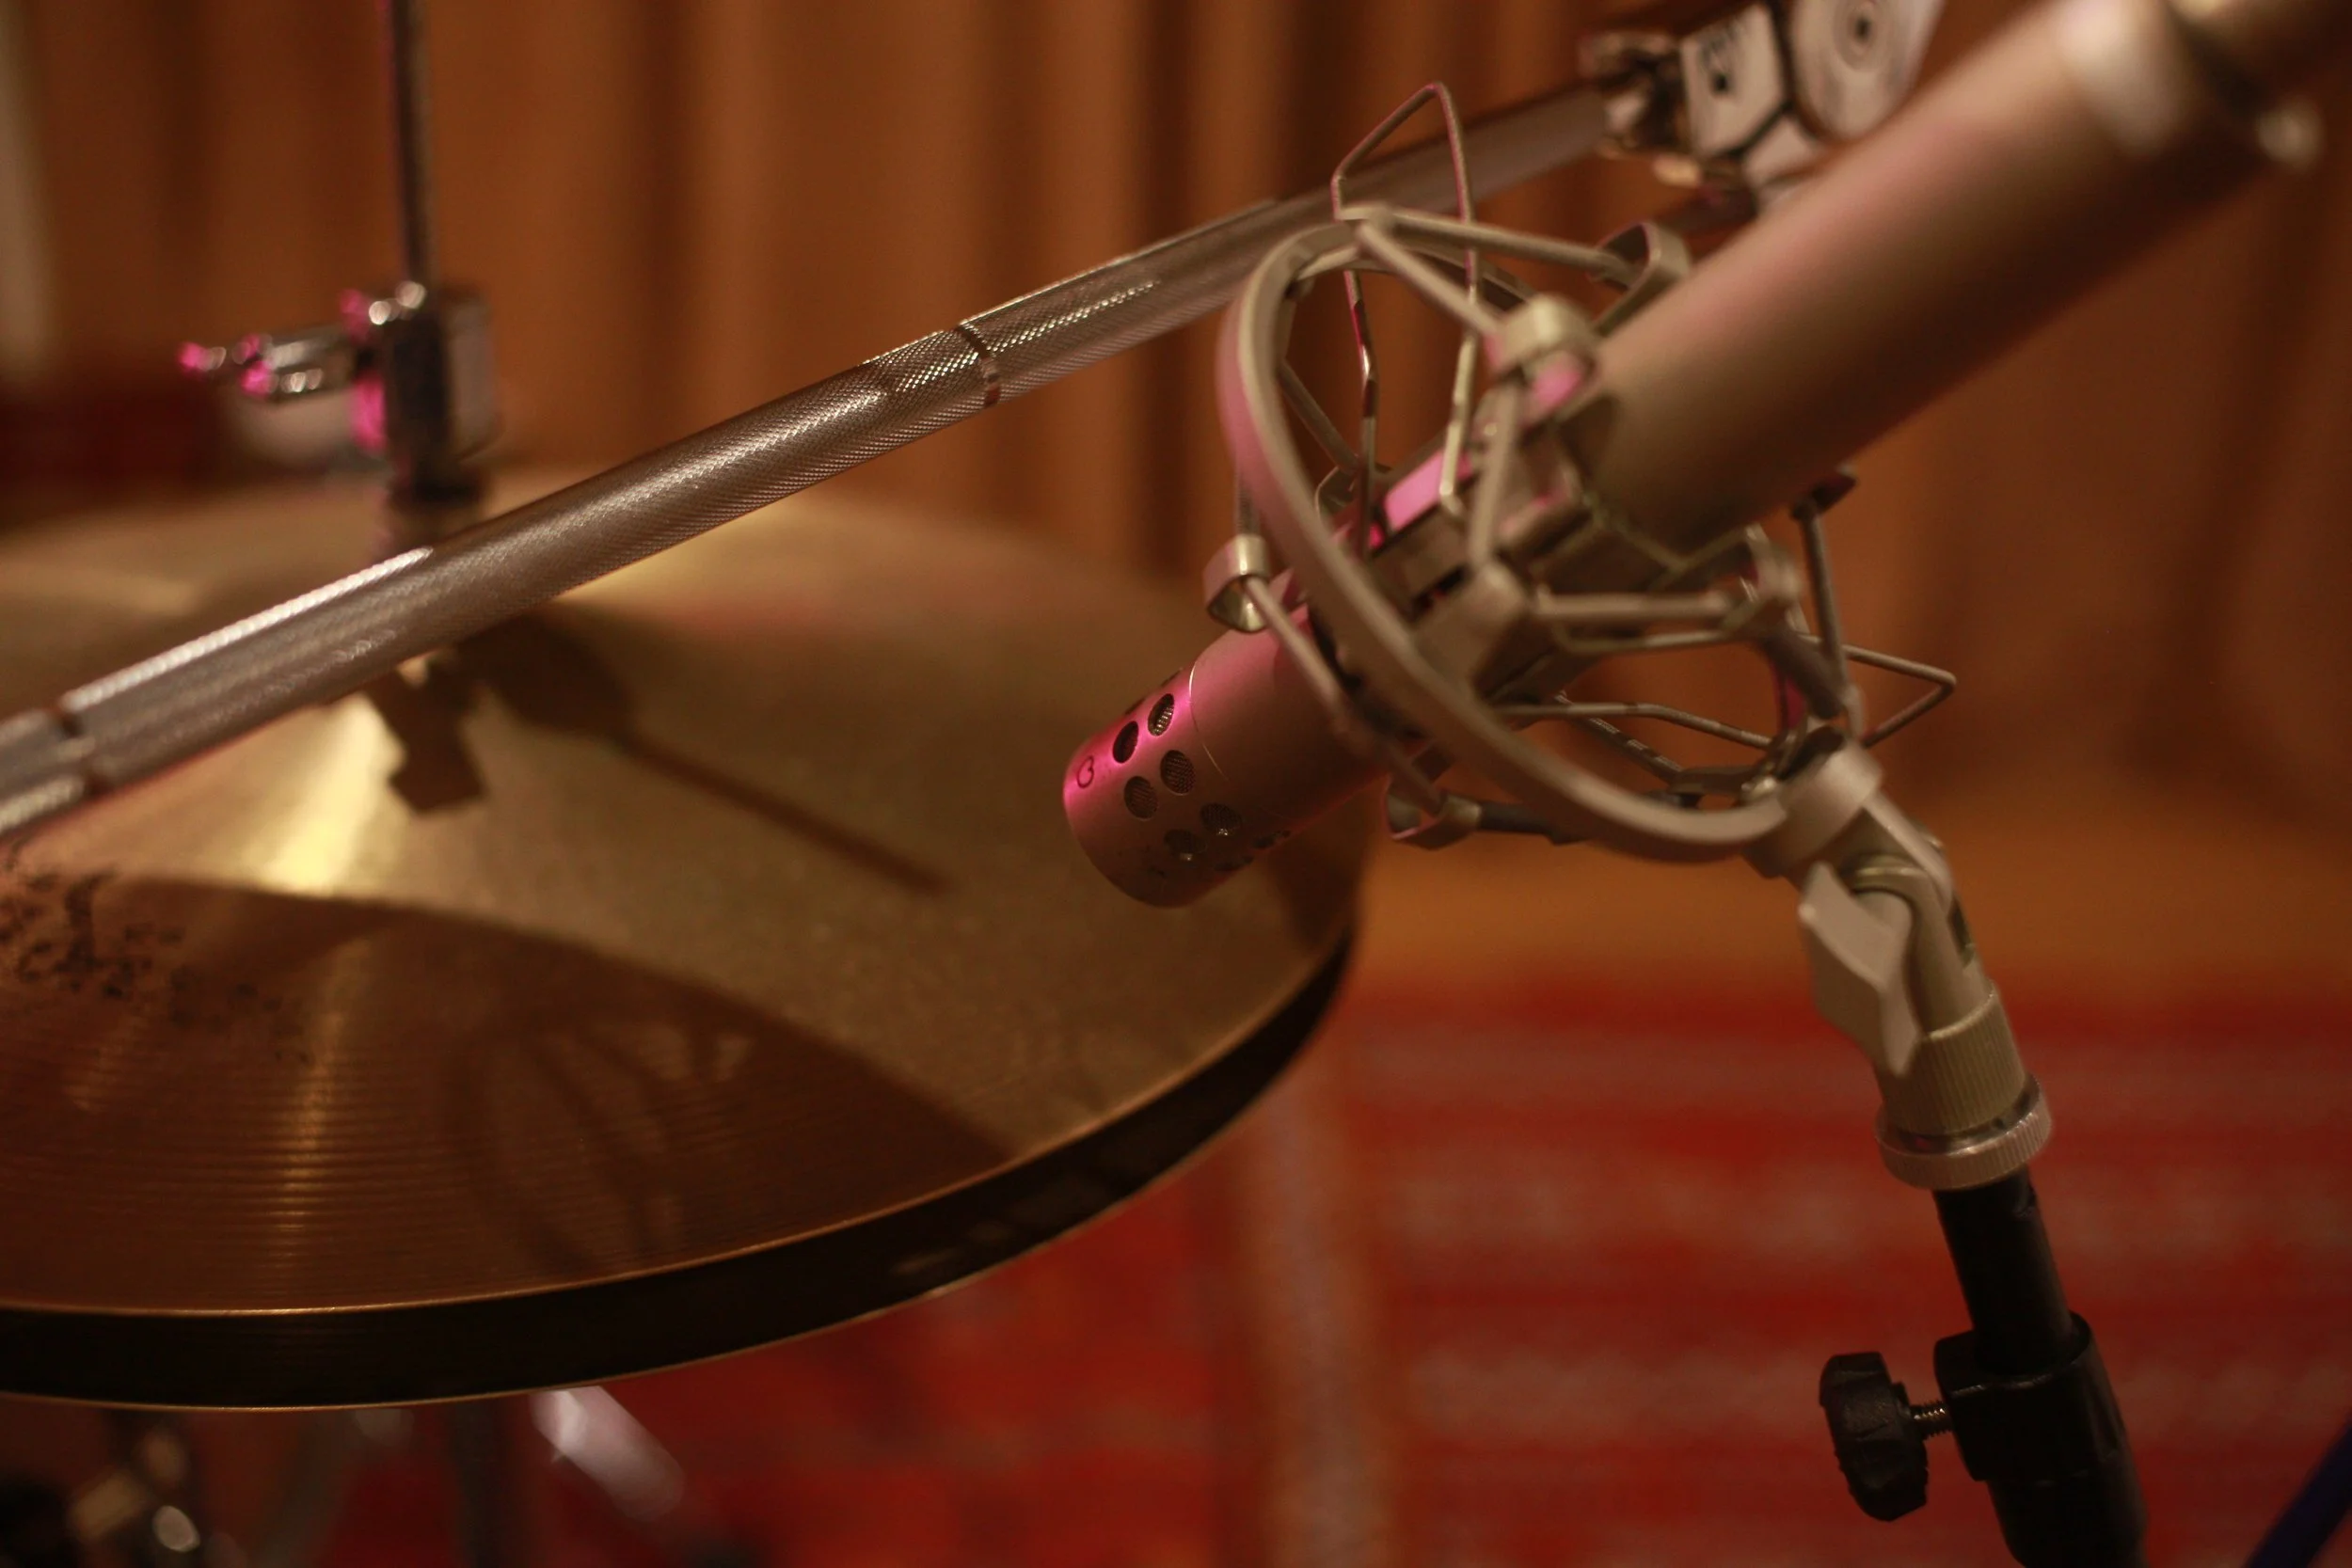
The Hi-Hats are crisp and bright in timbre and require a mic that can translate their unique character. I tend to favour a small capsule condenser design for this task. When placing the mic it's important to avoid the mic intersecting with the lip of the cymbals, as when they close together they create a brief blast of air that buffets the mic capsule. I tend to favour placing the mic above the hats at a shallow angle facing the upper outside rim of the top cymbal. However, experimentation is important to find the very best situation for the mic as environments and kits vary.
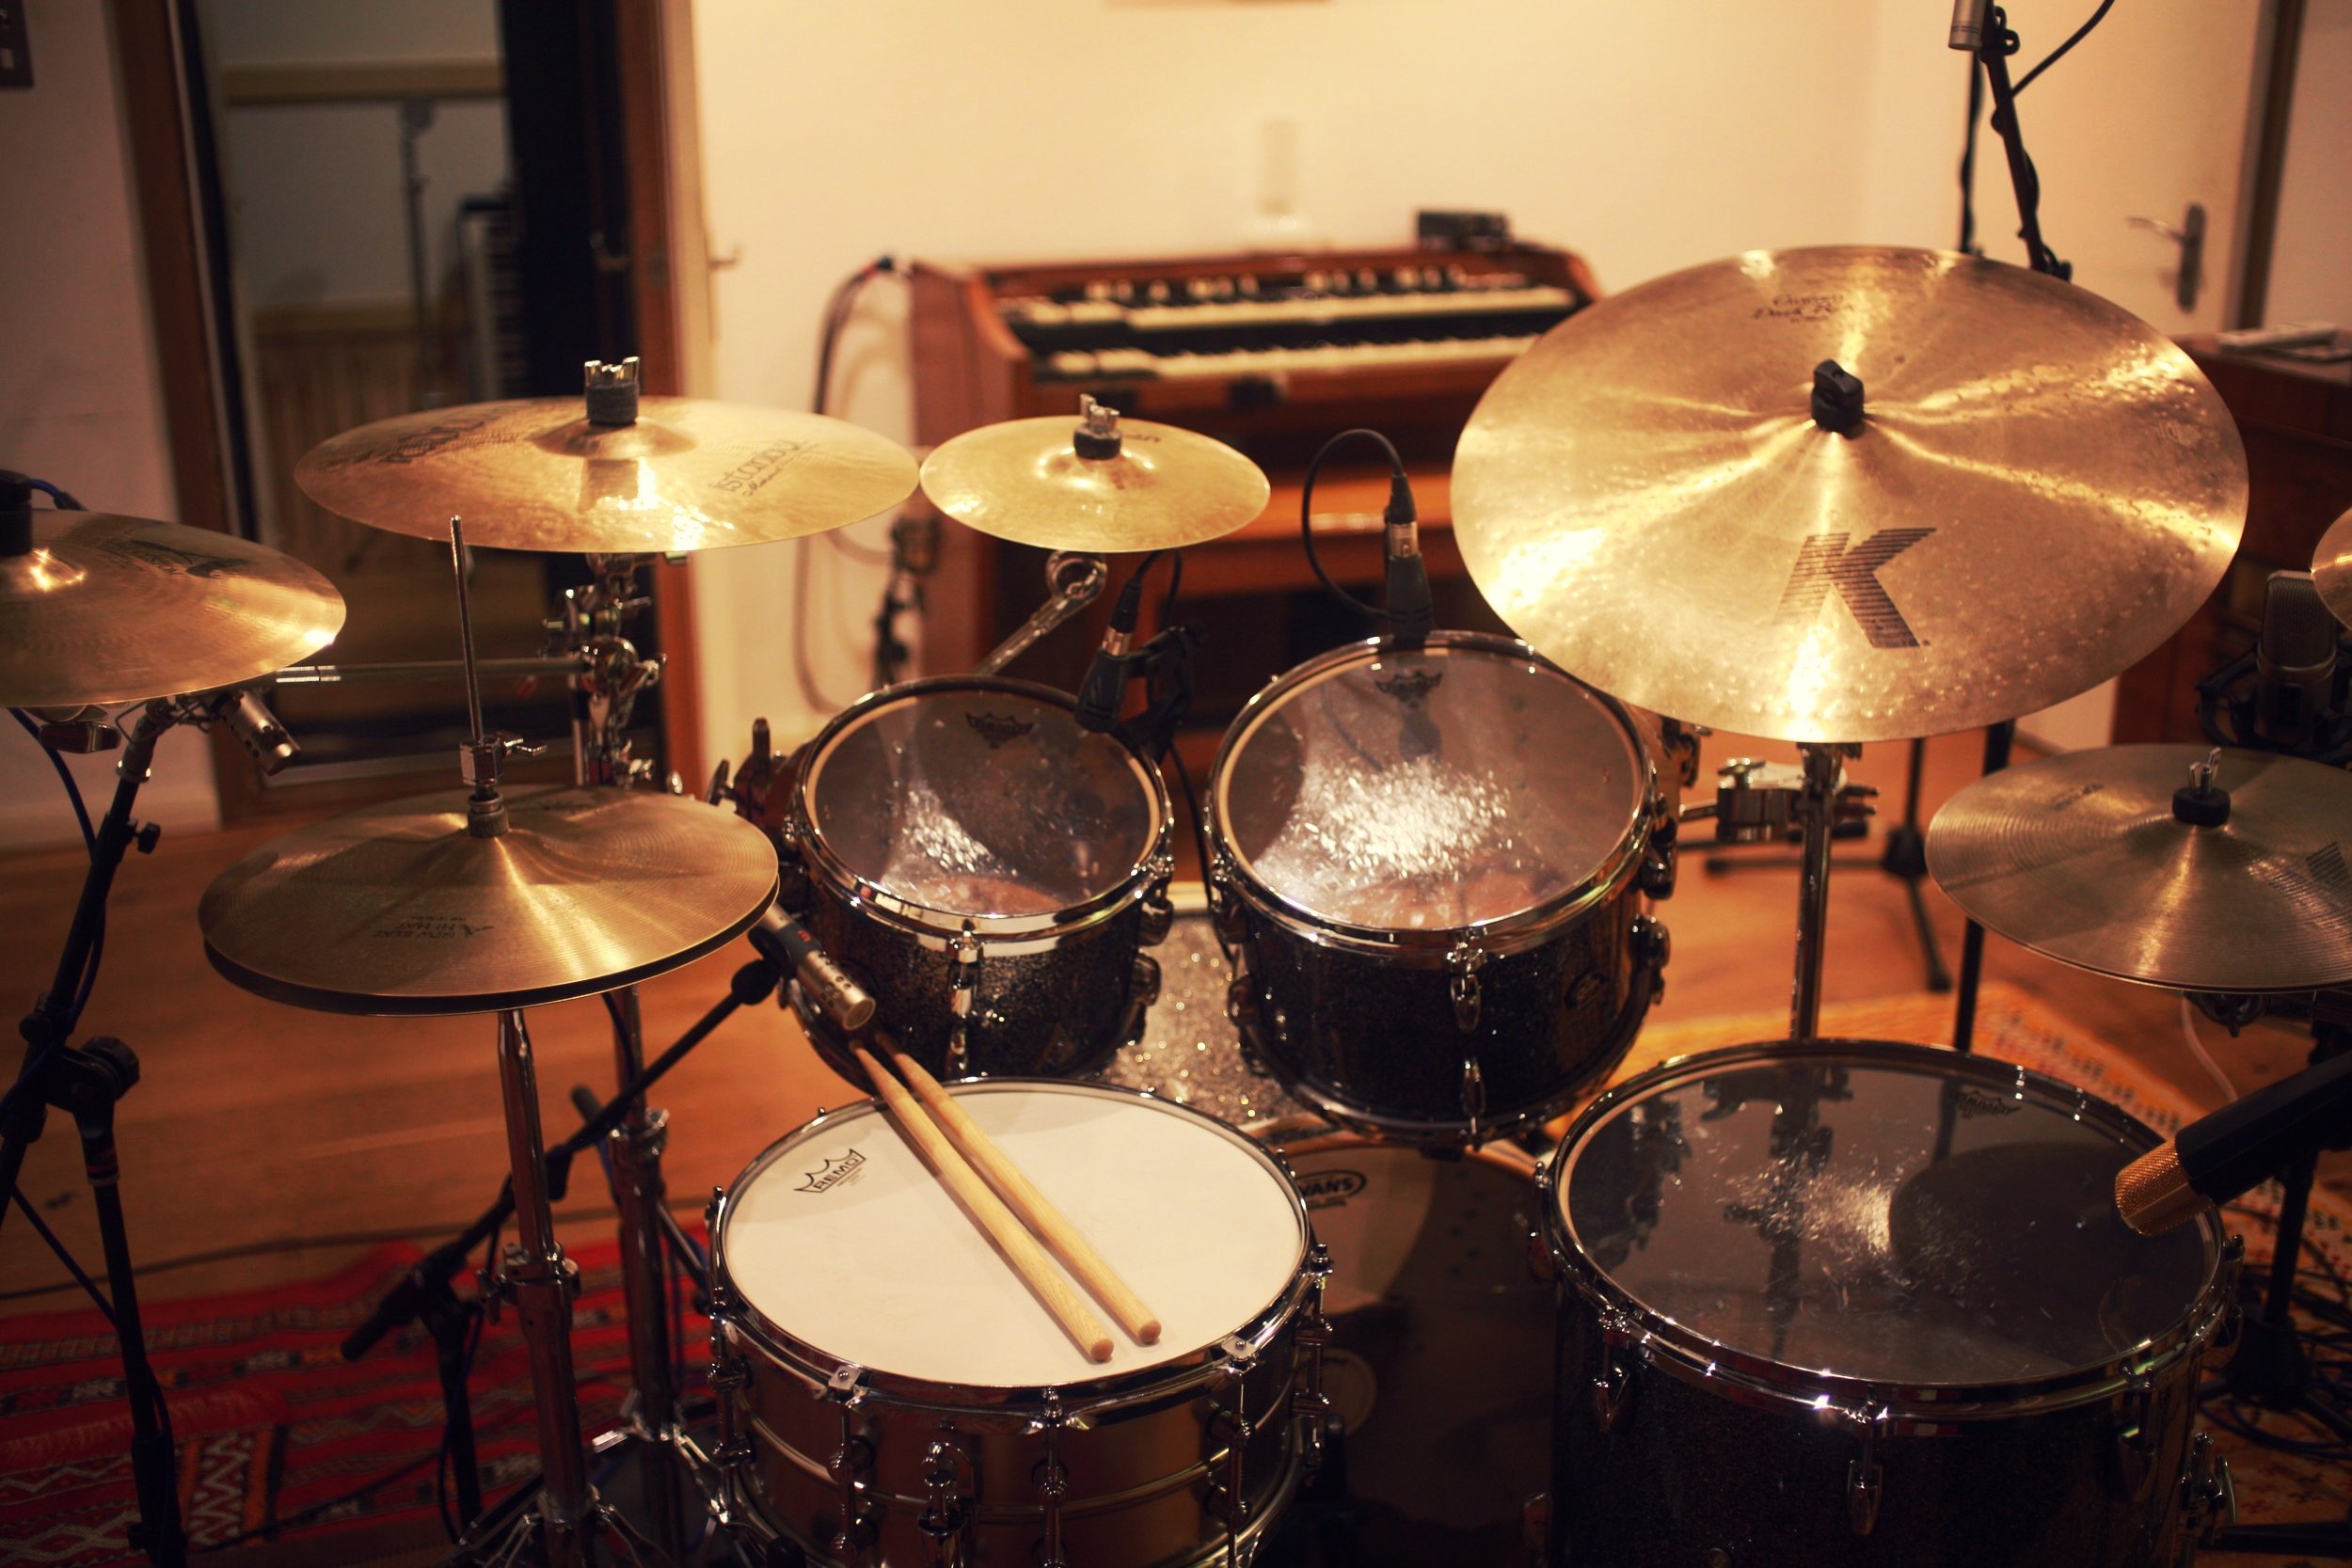
Toms
The toms are some of my favourite sounding drums. They can be tuned to a definitive pitch and have a characteristic falling sound when the skins are tuned at different intervals. They vary widely in size and pitch and are usually miced from the top skin. However, many producers also like to mic the toms from inside by removing the lower skin.
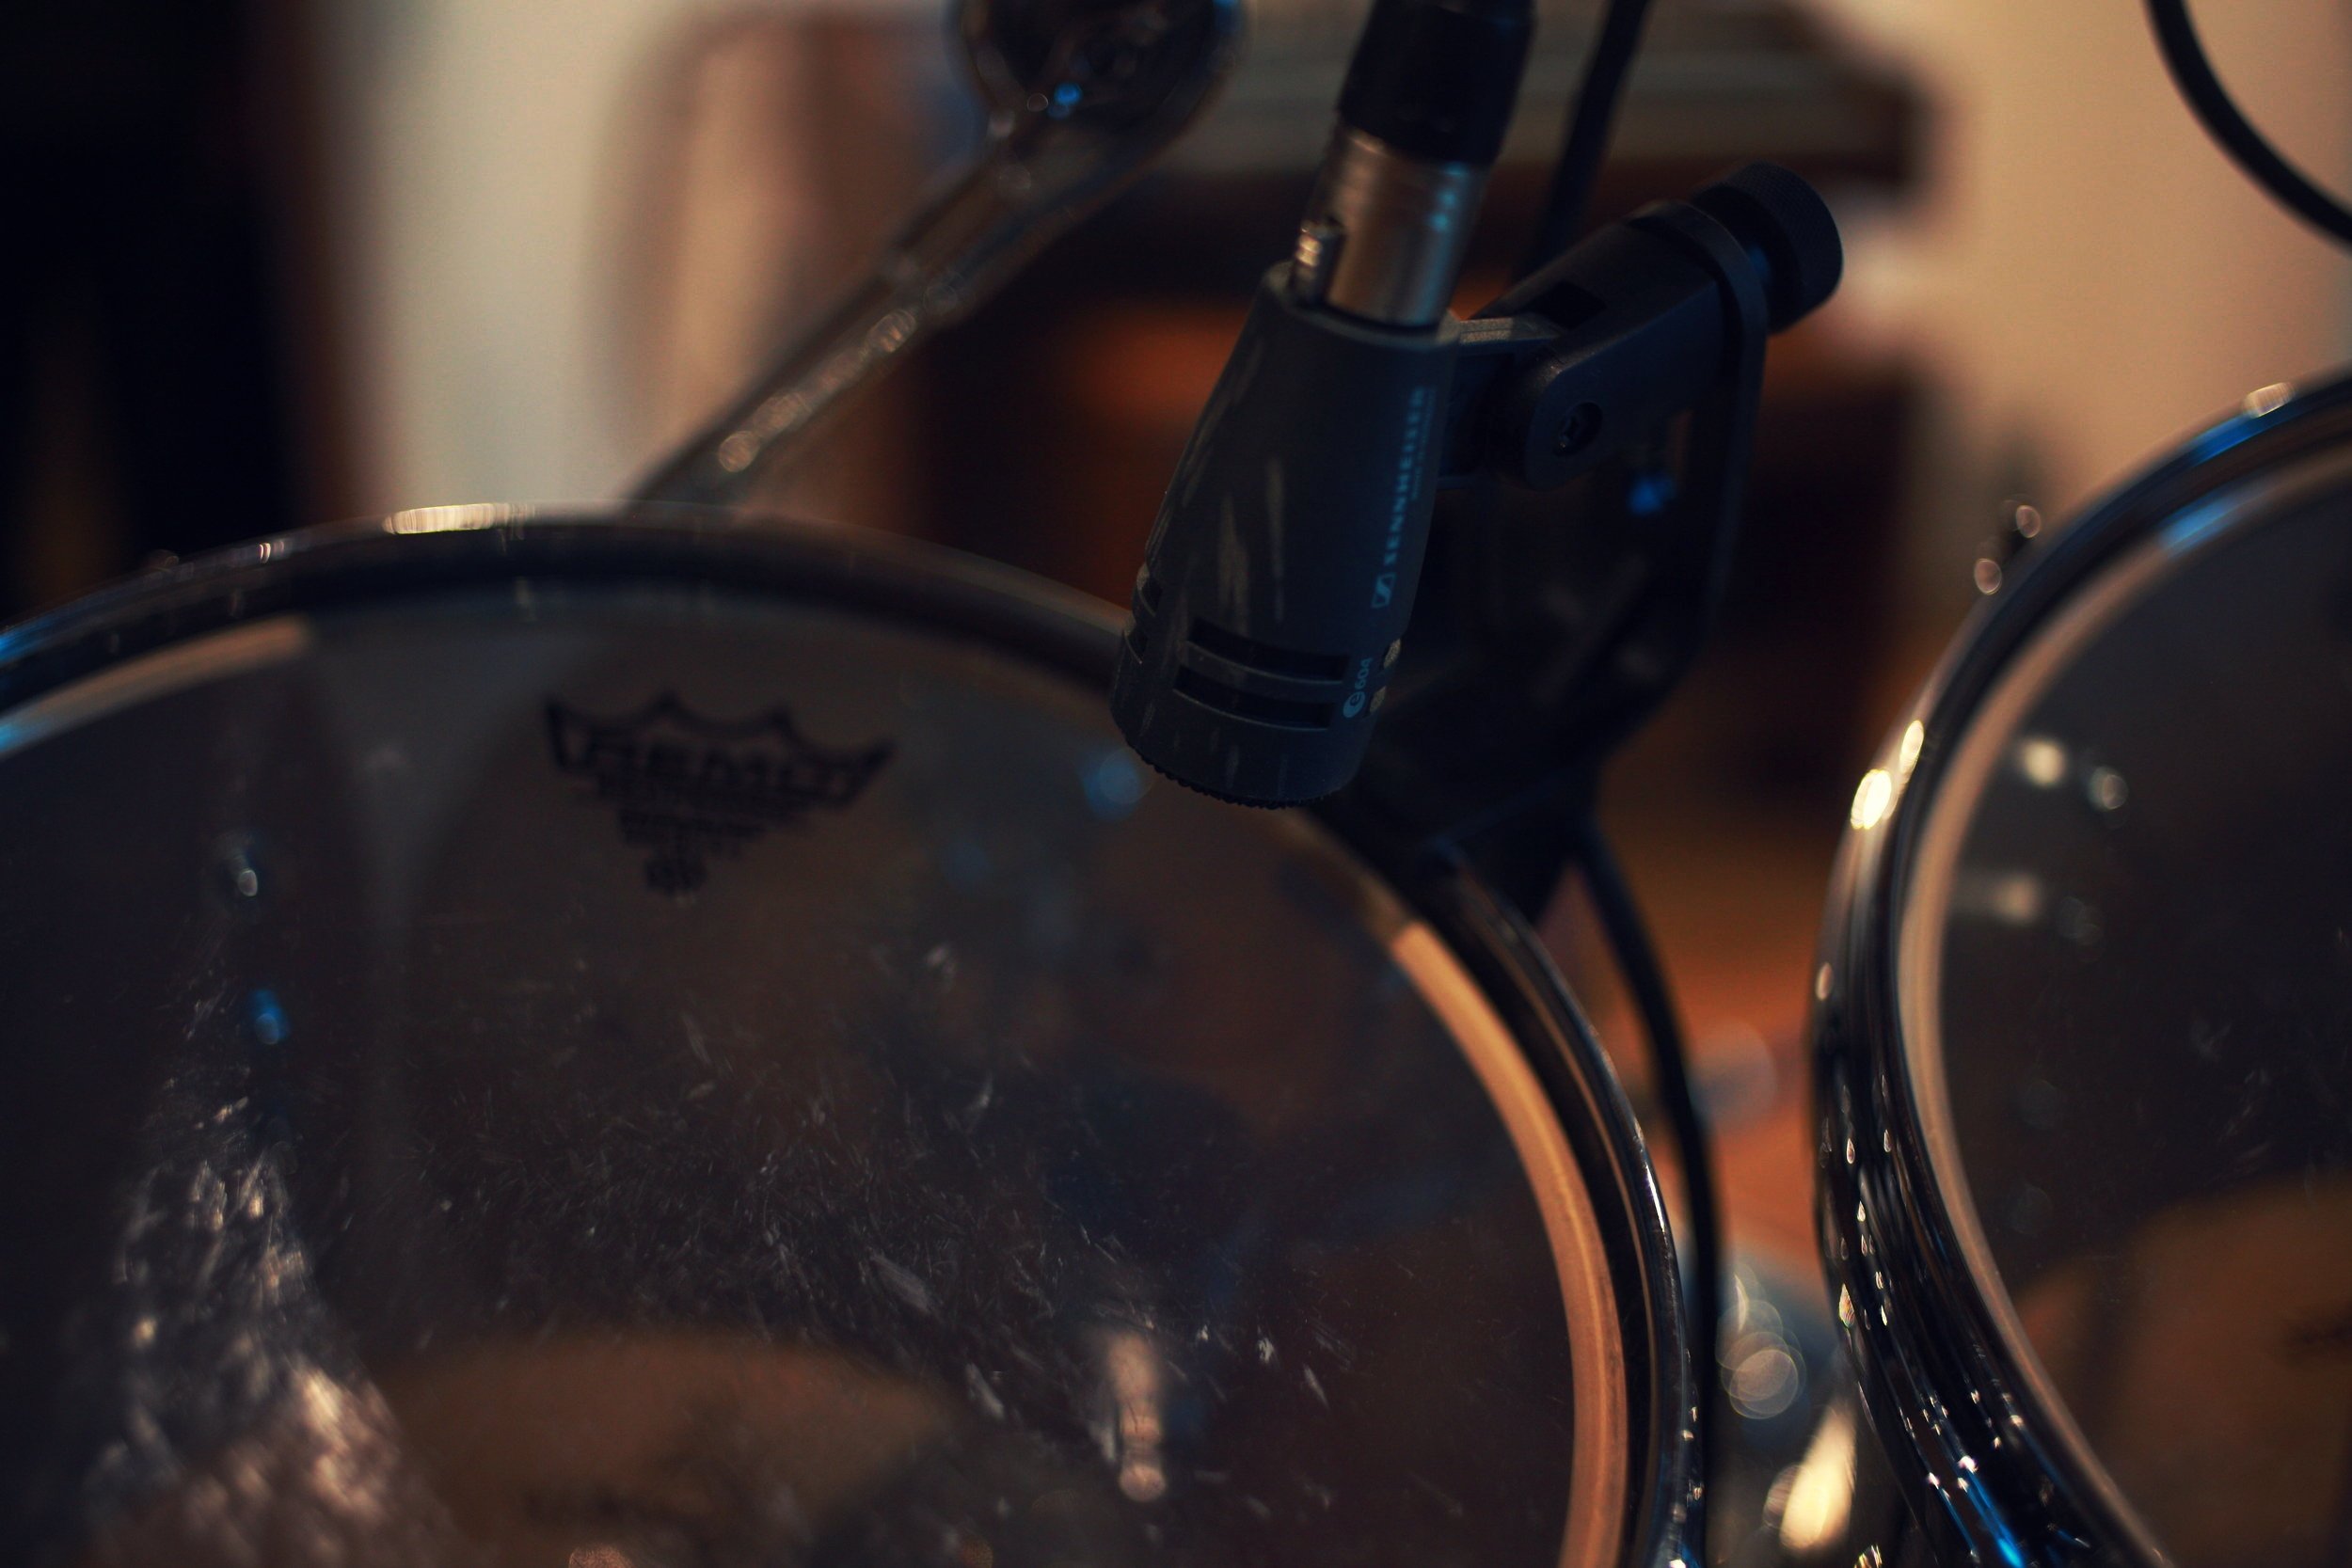
As with the snare drum the important thing when placing the mic is to avoid it being in the way of the drummer whilst playing. For this reason there are many mics that are designed to be discreet and clip onto the rim of the drum. I've had great success with Shure and AKG designs. However, for the floor tom I favour using a Sennheiser MD421. In fact these mics are terrific for all the toms and if the studio has enough of them it's worth experimenting with micing all the toms with 421s.
Placing the mic inside the shell creates a deep resonant sound and is favoured by some producers. Remember that if working this way the mics will need phase inverting to match the overheads.
Other Elements
Along with the core mics there are some other important aspects to consider.
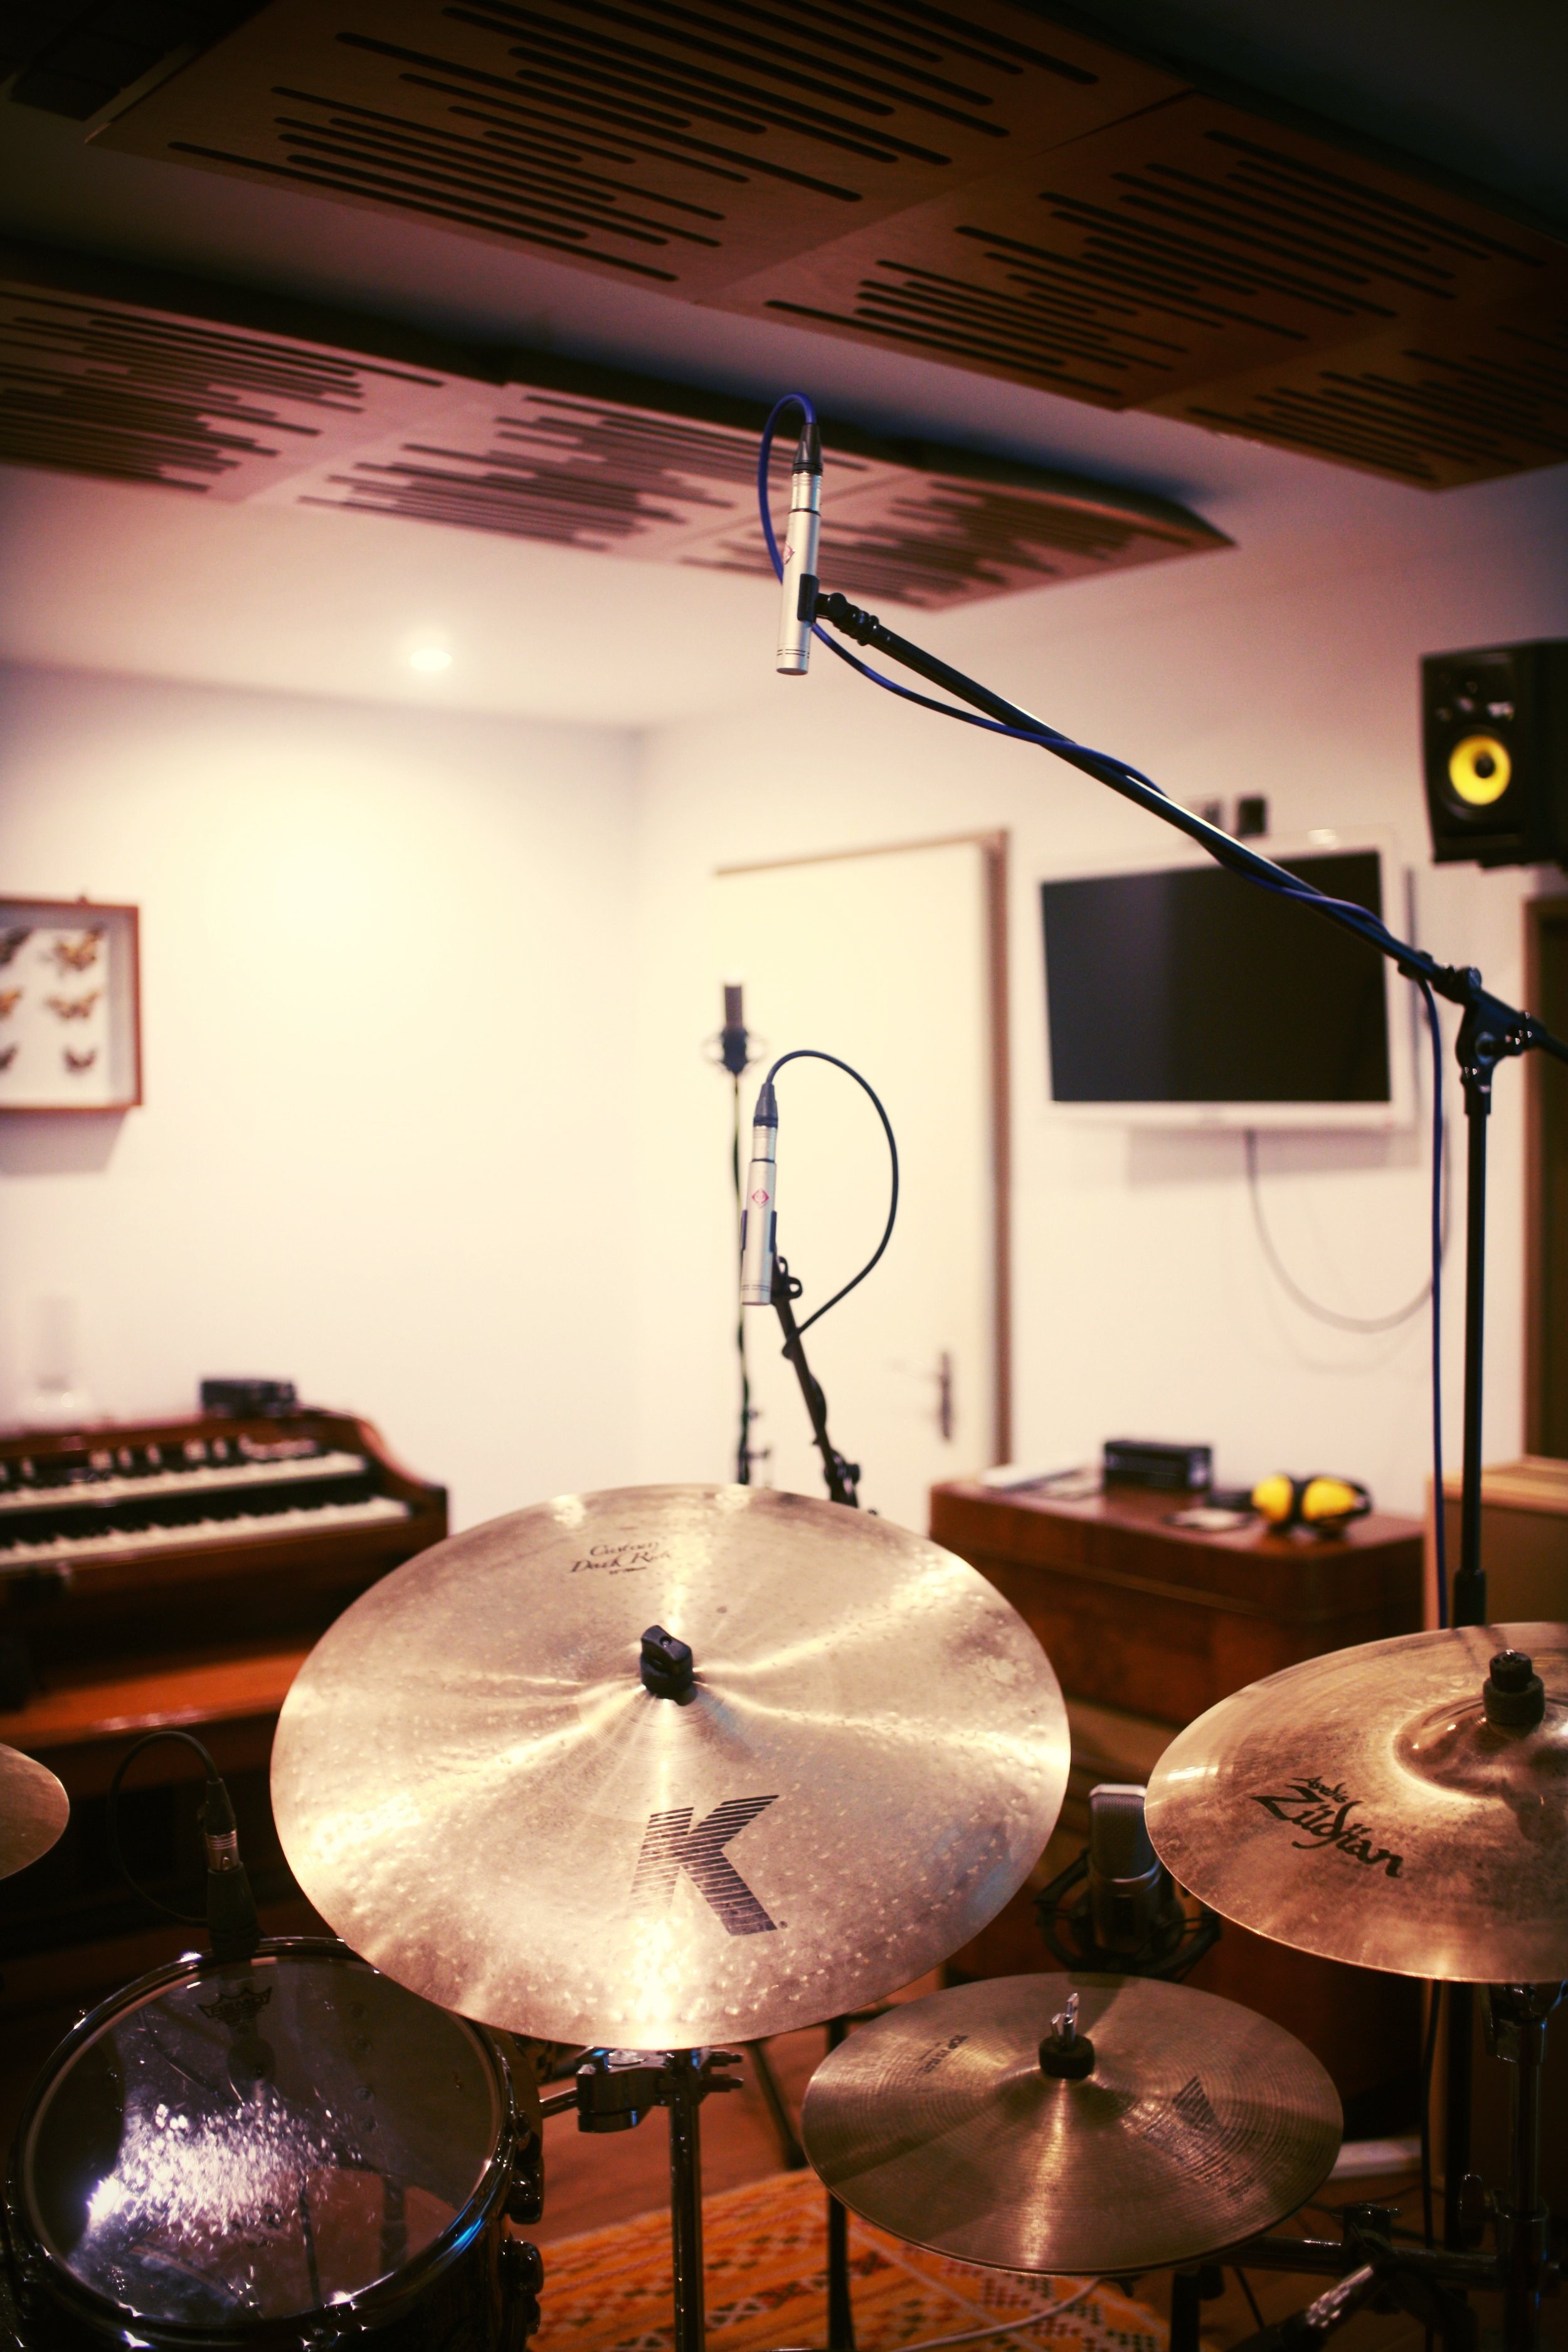
Ride Spot
Other than the Hi-Hats the Ride cymbal is perhaps the most important cymbal, especially in Jazz. It can also struggle to be clearly defined using just the overhead mics. For this reason it's common to 'spot' the Ride with a dedicated mic. As with the overheads it is best to use a directional condenser for this job. I would suggest placing the mic above the ride facing into the bell of the cymbal.

Kick Drum Sub
The kick drum creates an enormous amount of sub frequencies but some mics struggle to capture them fully. However, there is a way to record the super low frequencies produced by the kick, not with a mic but with a speaker! A speaker is capable of producing electrical output when the cone is moved by high amplitude sound waves. In fact it operates in the same way as a dynamic microphone does. If a 10" speaker is placed on a guitar stand and the output of the speaker is wire to an XLR connector, the speaker can then be used to capture all of the sub frequencies from the kick drum. Placing the speaker in close proximity to the drum is usually best as the amplitude of the waveform has to be very high to work properly

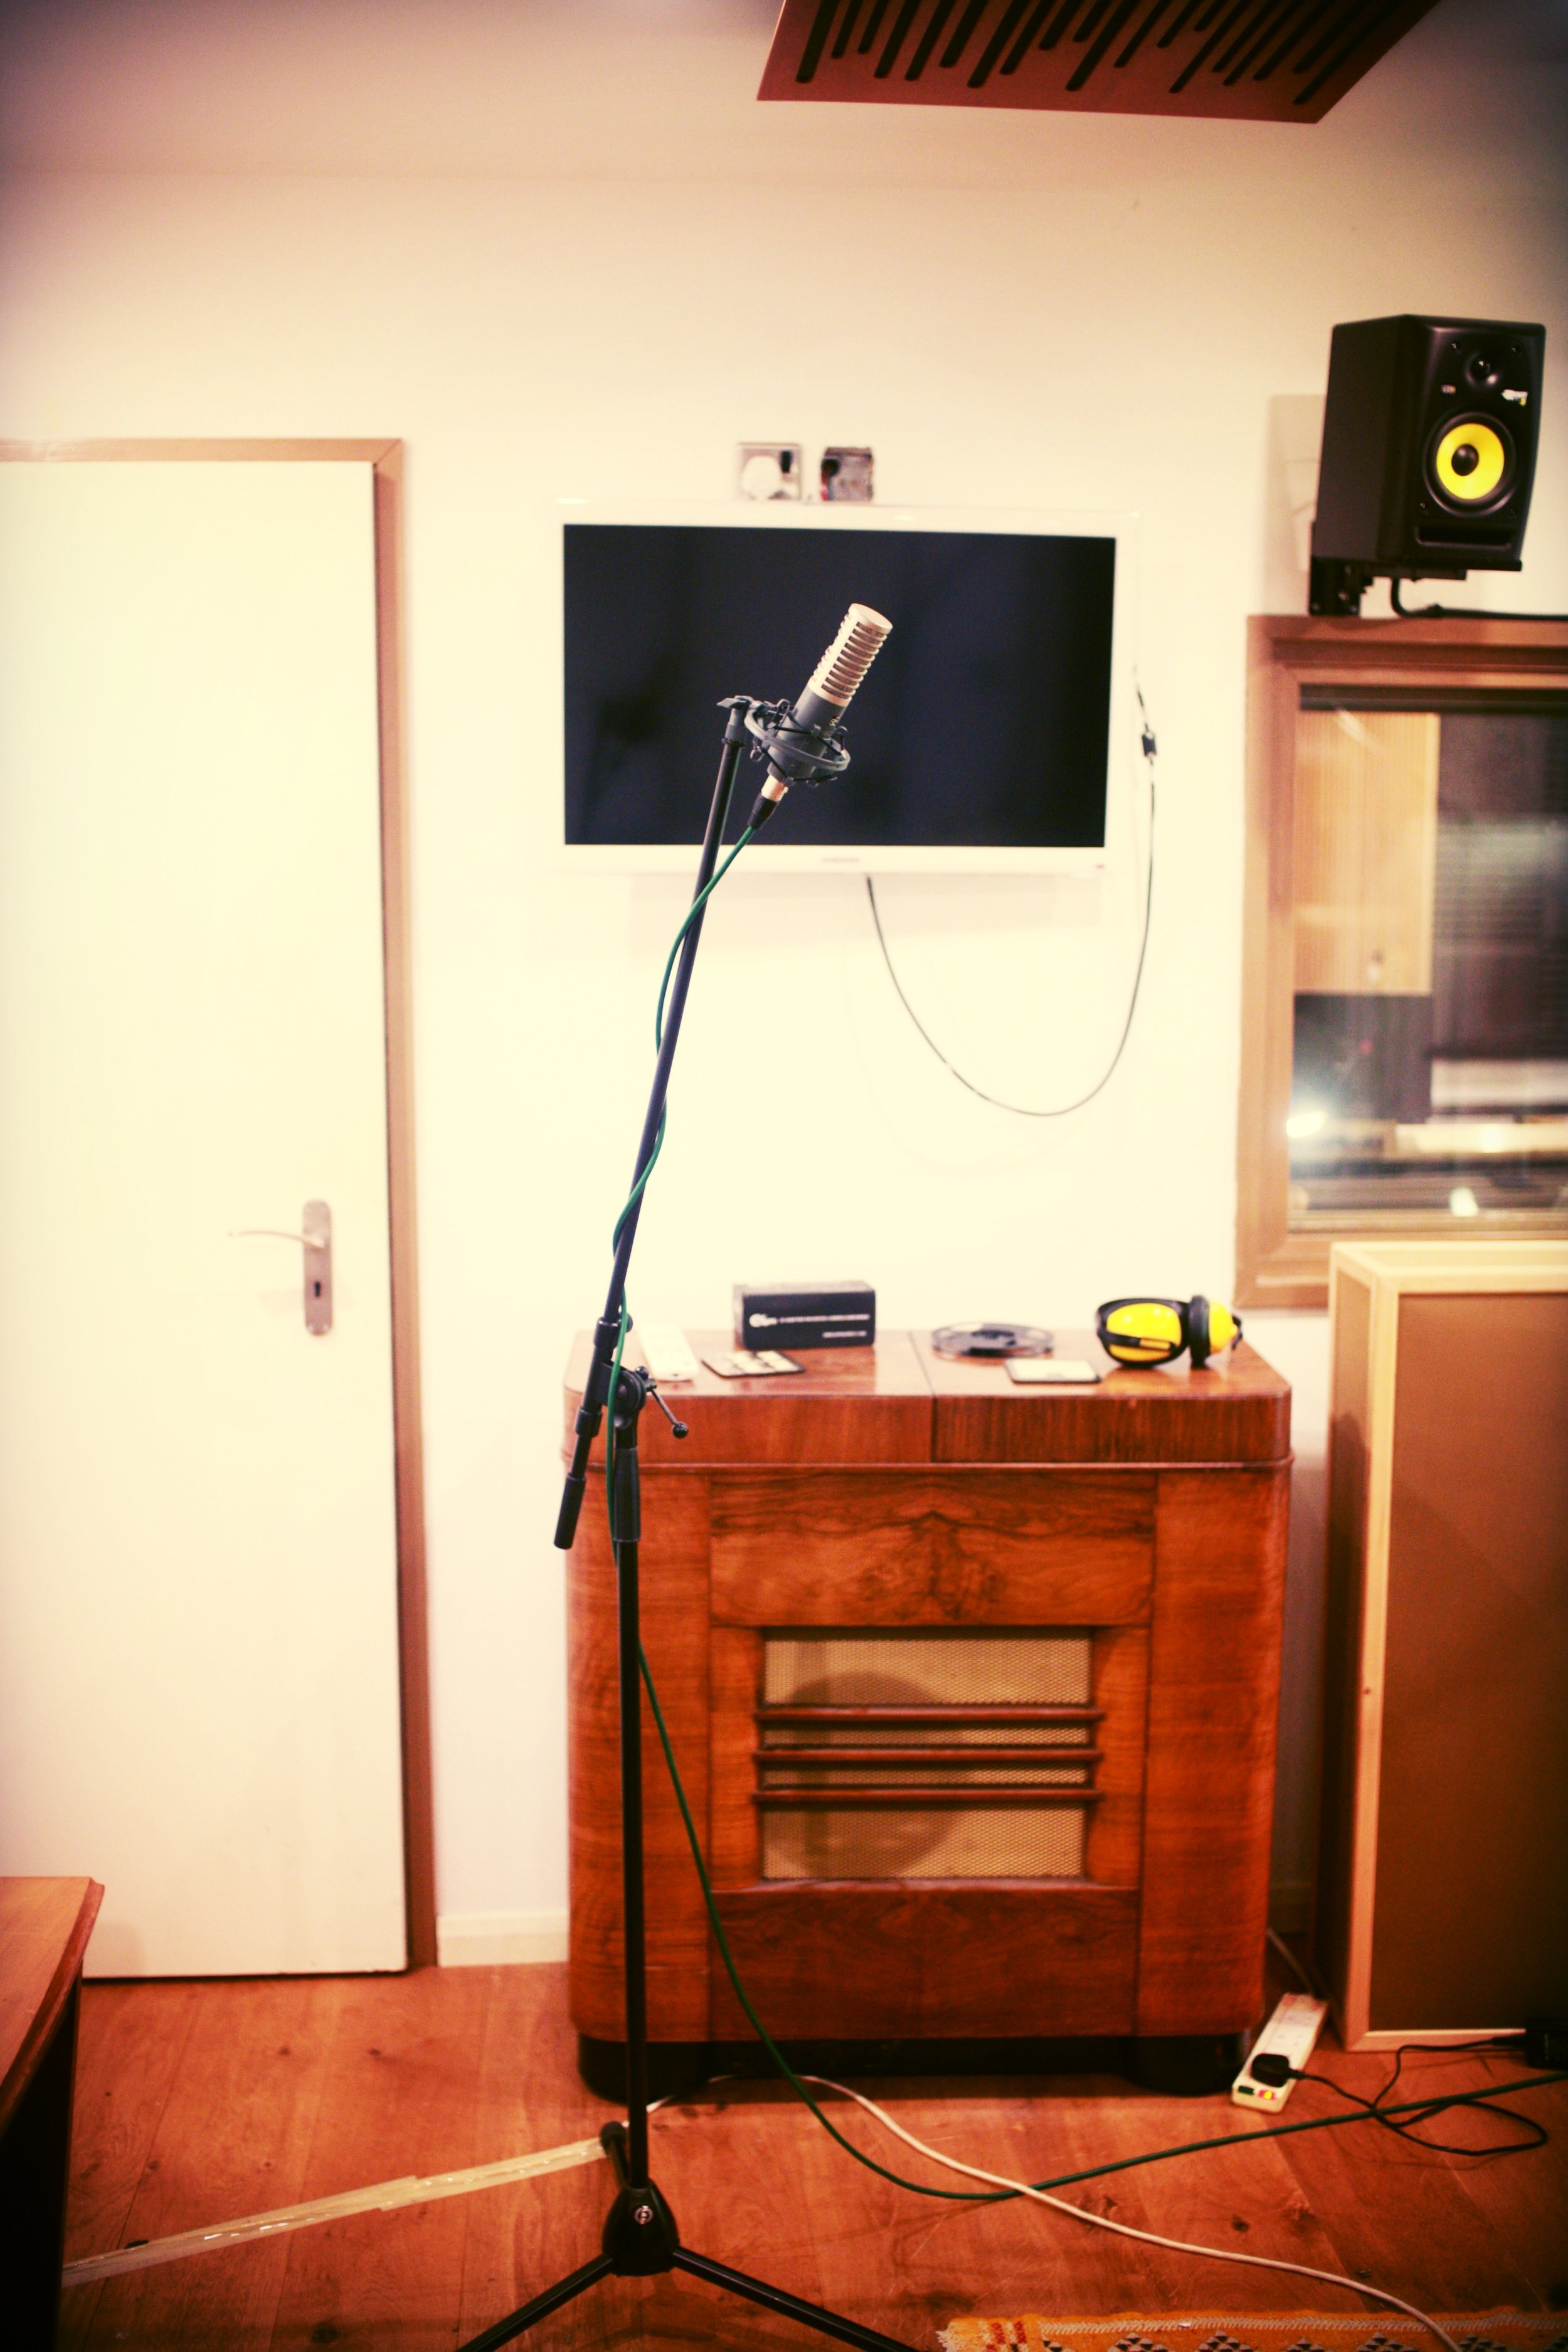
Room Mics
The final component of the full drum recording is the room mics. The ambience of a room is as important to the sound of a recording as the instrument itself, so capturing the room ambience is of great value to the final production. For room mics condenser or ribbon designs are quite common large or small diaphragm capsules both have desirable characteristics and can be in mono or stereo configuration.
So as you can see the drums require a fair amount of work to get them set up and mic'ed properly but the results are well worth it.
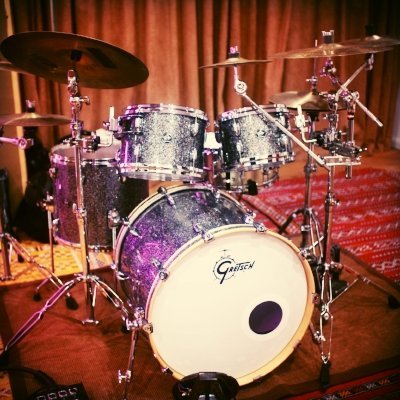
Here's an example of the kit recorded with the above setup. There's no post production audio processing added so what you're listening to is the kit in the live room at Evolution Studios.
I hope that you've found this tutorial useful. If so please feel free to comment or leave questions.
Related Posts ↓

In this blog I'm going to show you how to go about recording the trumpet and demonstrate the different characteristics of various microphone designs with a five mic, mic shootout.